
2015 52 Week Project // Week 2: The Editing Struggle (+ a Before & After and some BTS!)

Camera settings: ISO 100, f/2, 1/200th.
(Make sure to read through the whole post to the bottom, where there's some more images from this shoot and some behind the scenes photos!)
Hey there people, good news, I haven't quit yet! ;) Just kidding, I'm NOWHERE near burnt out on this project (take a look at my Pinterest board, and you'll see why) and I'm so glad I challenged myself to take it on.
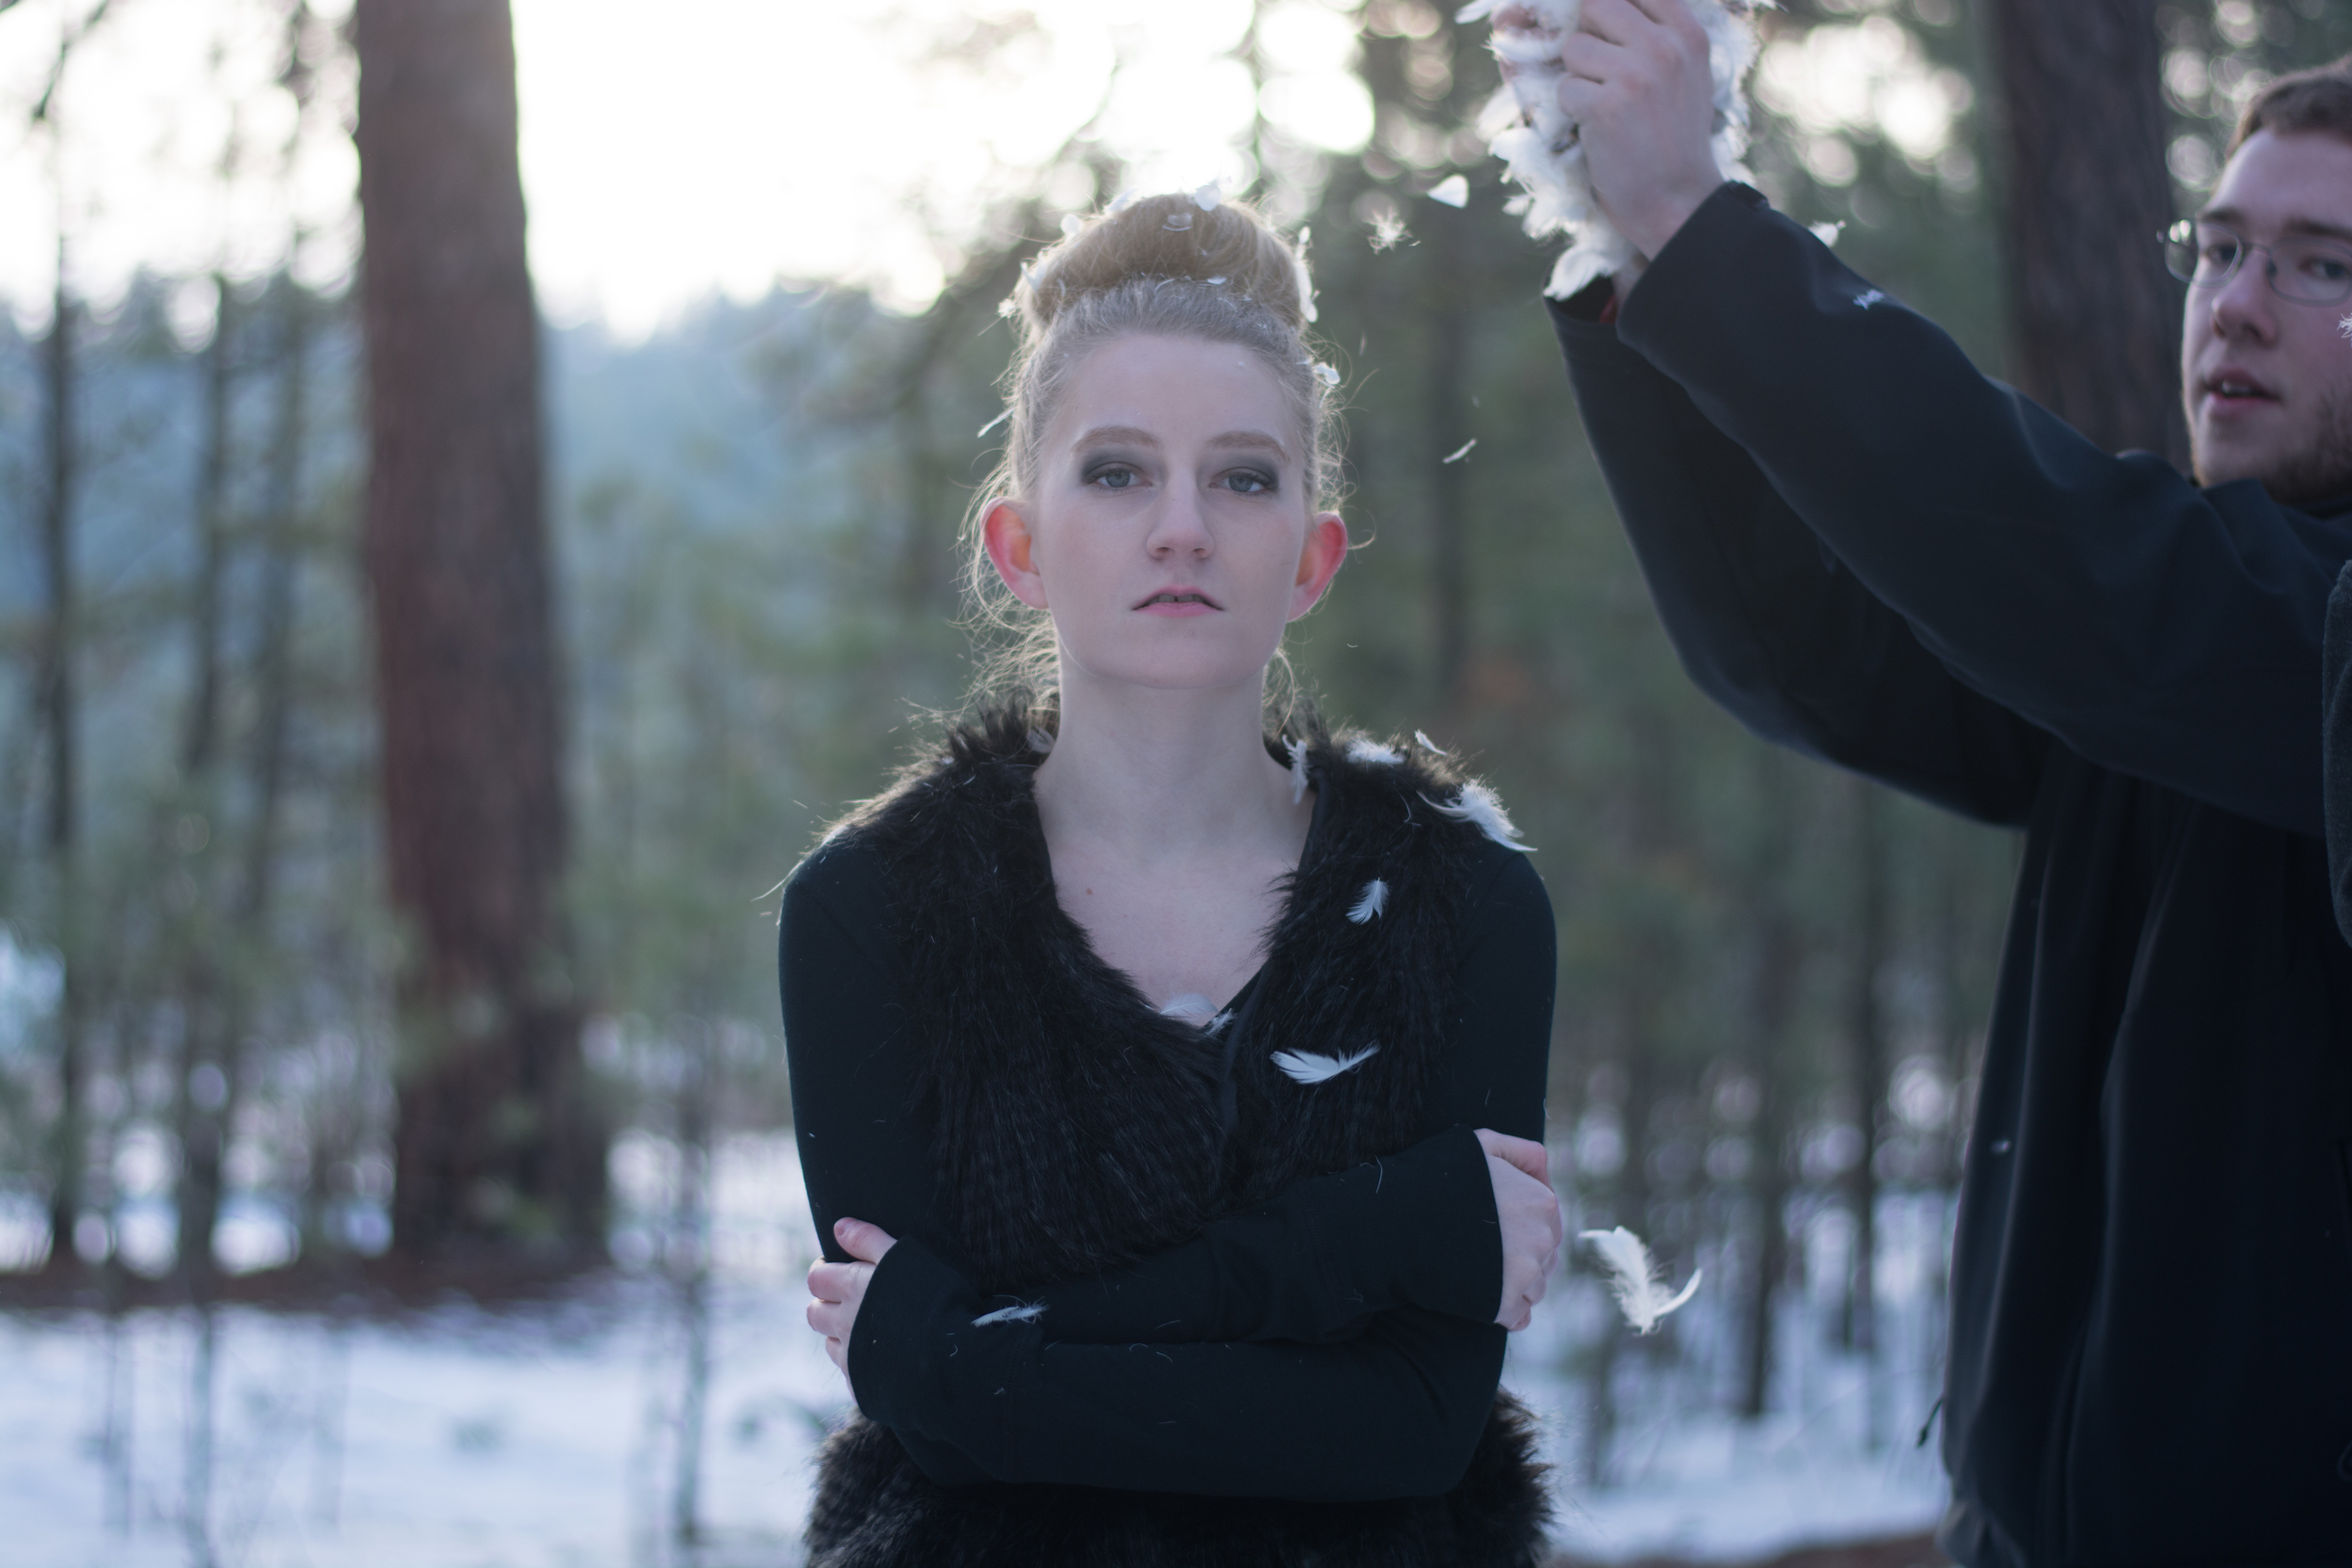
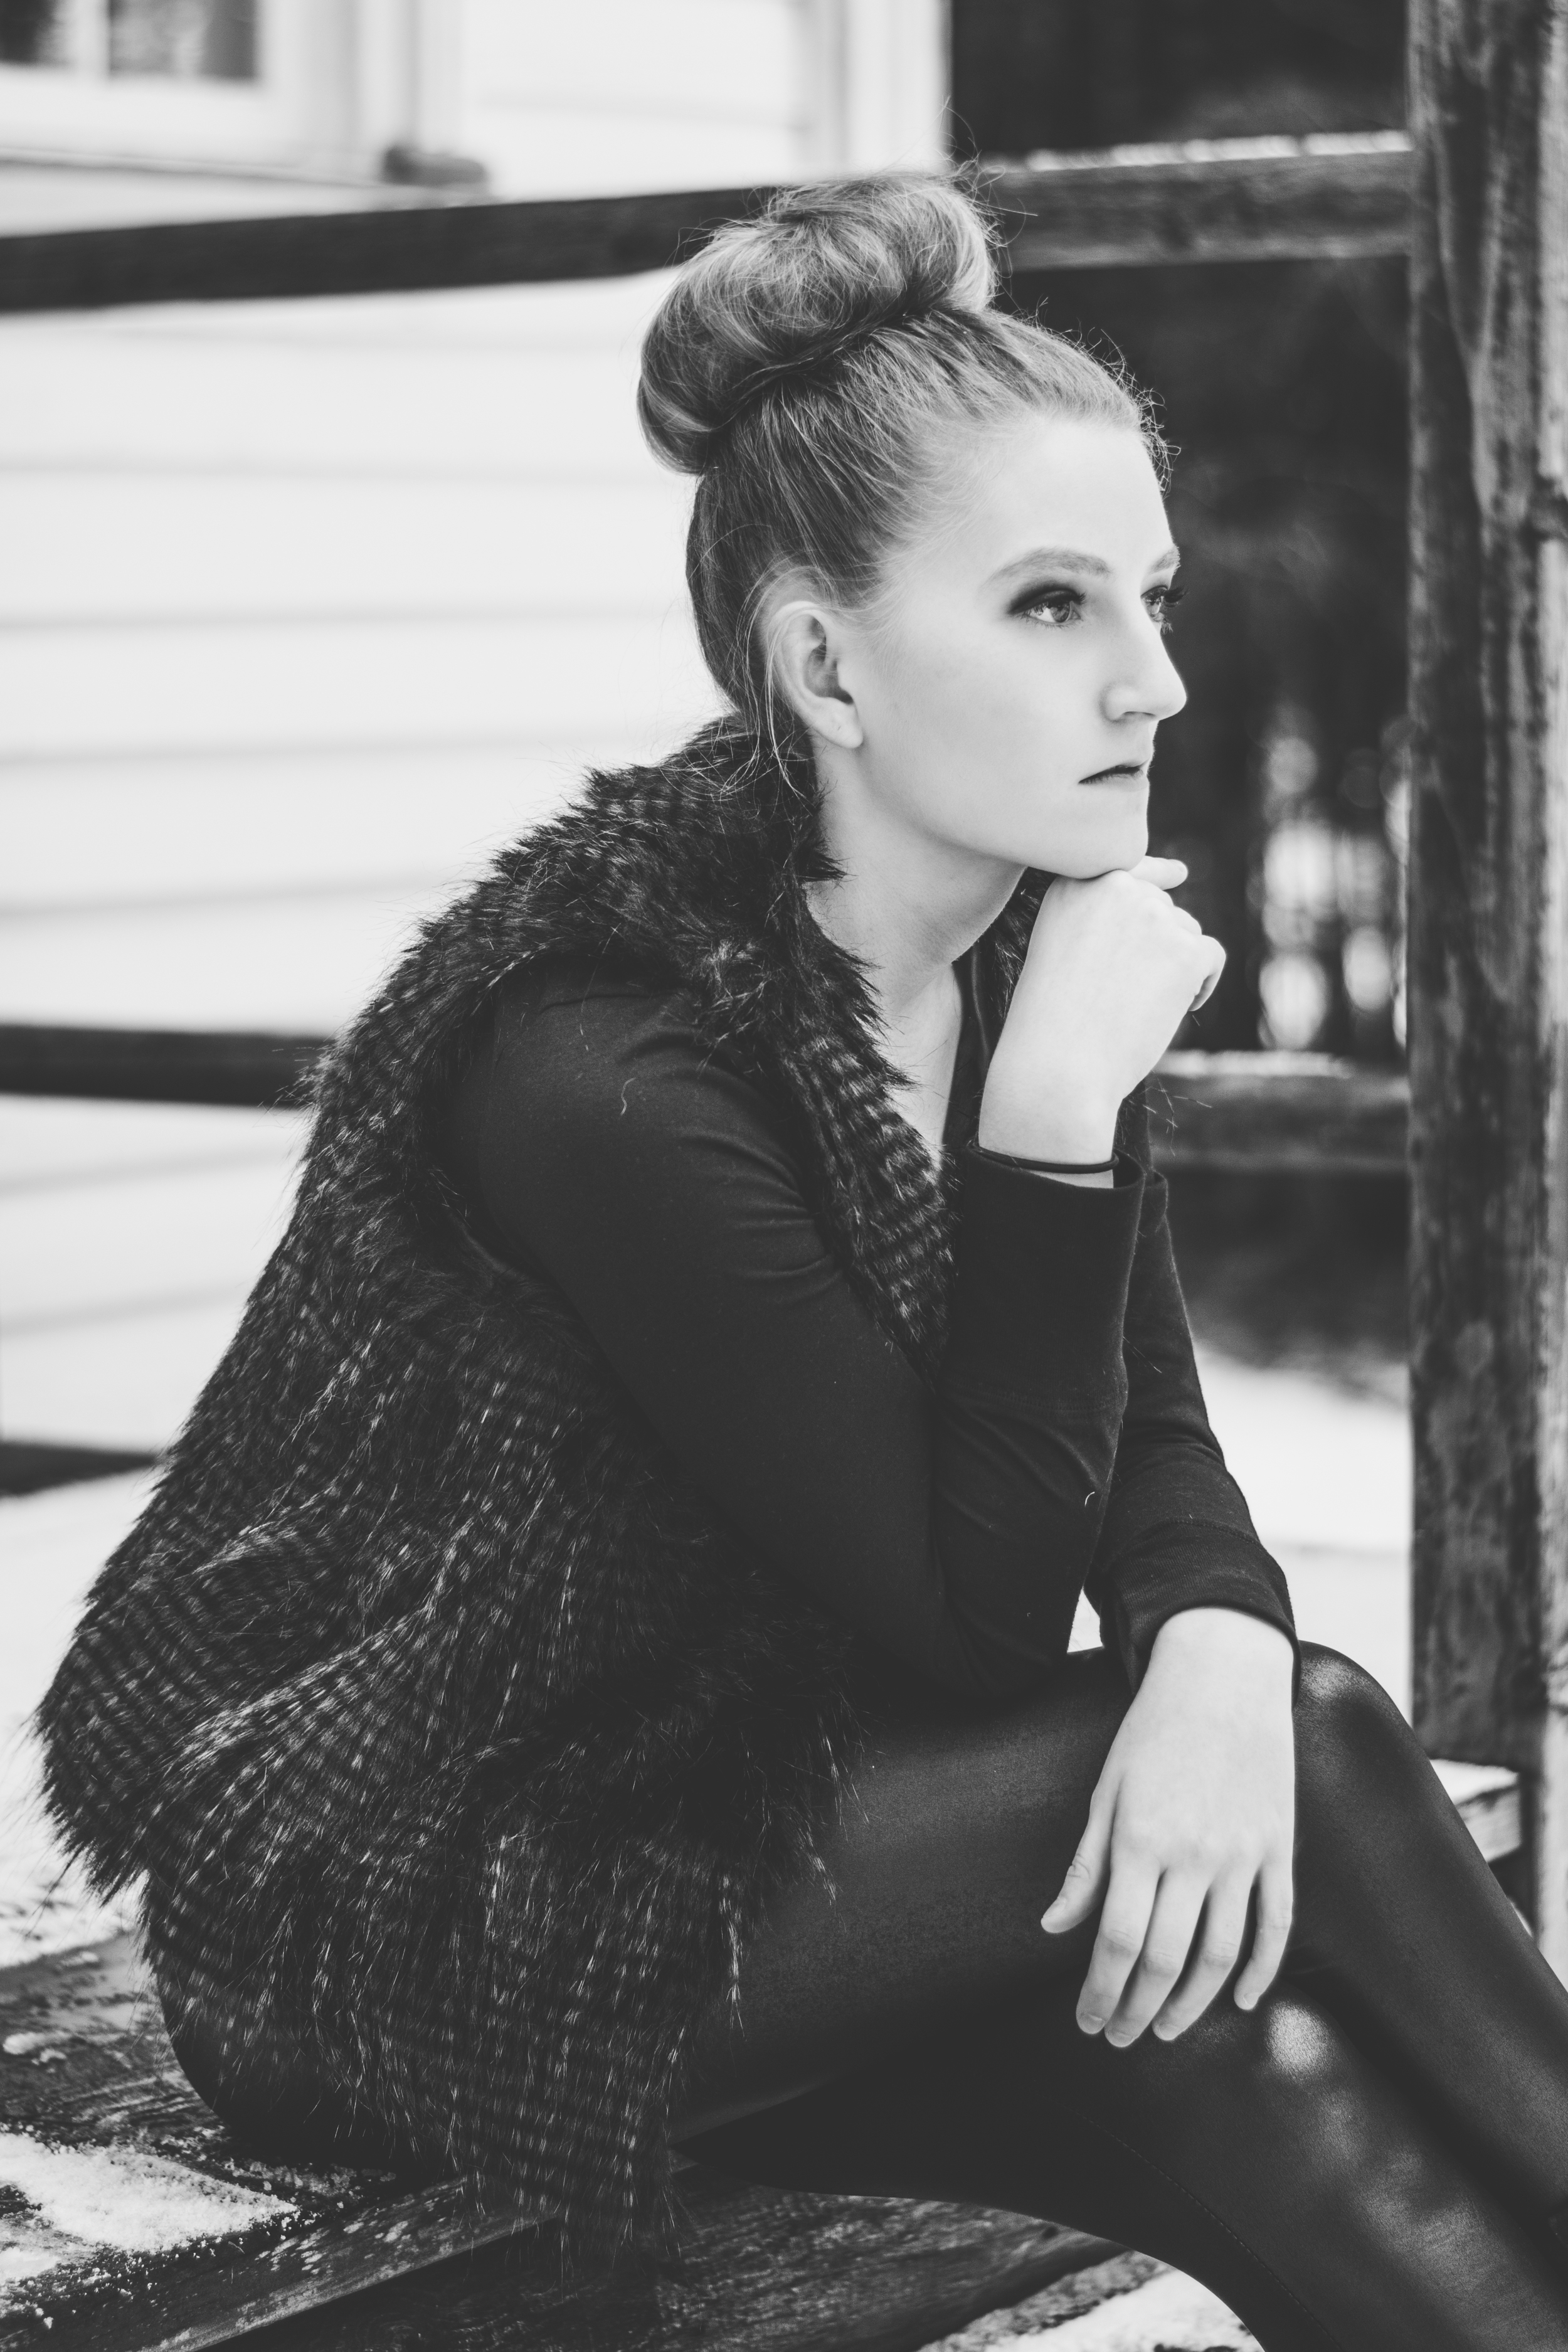
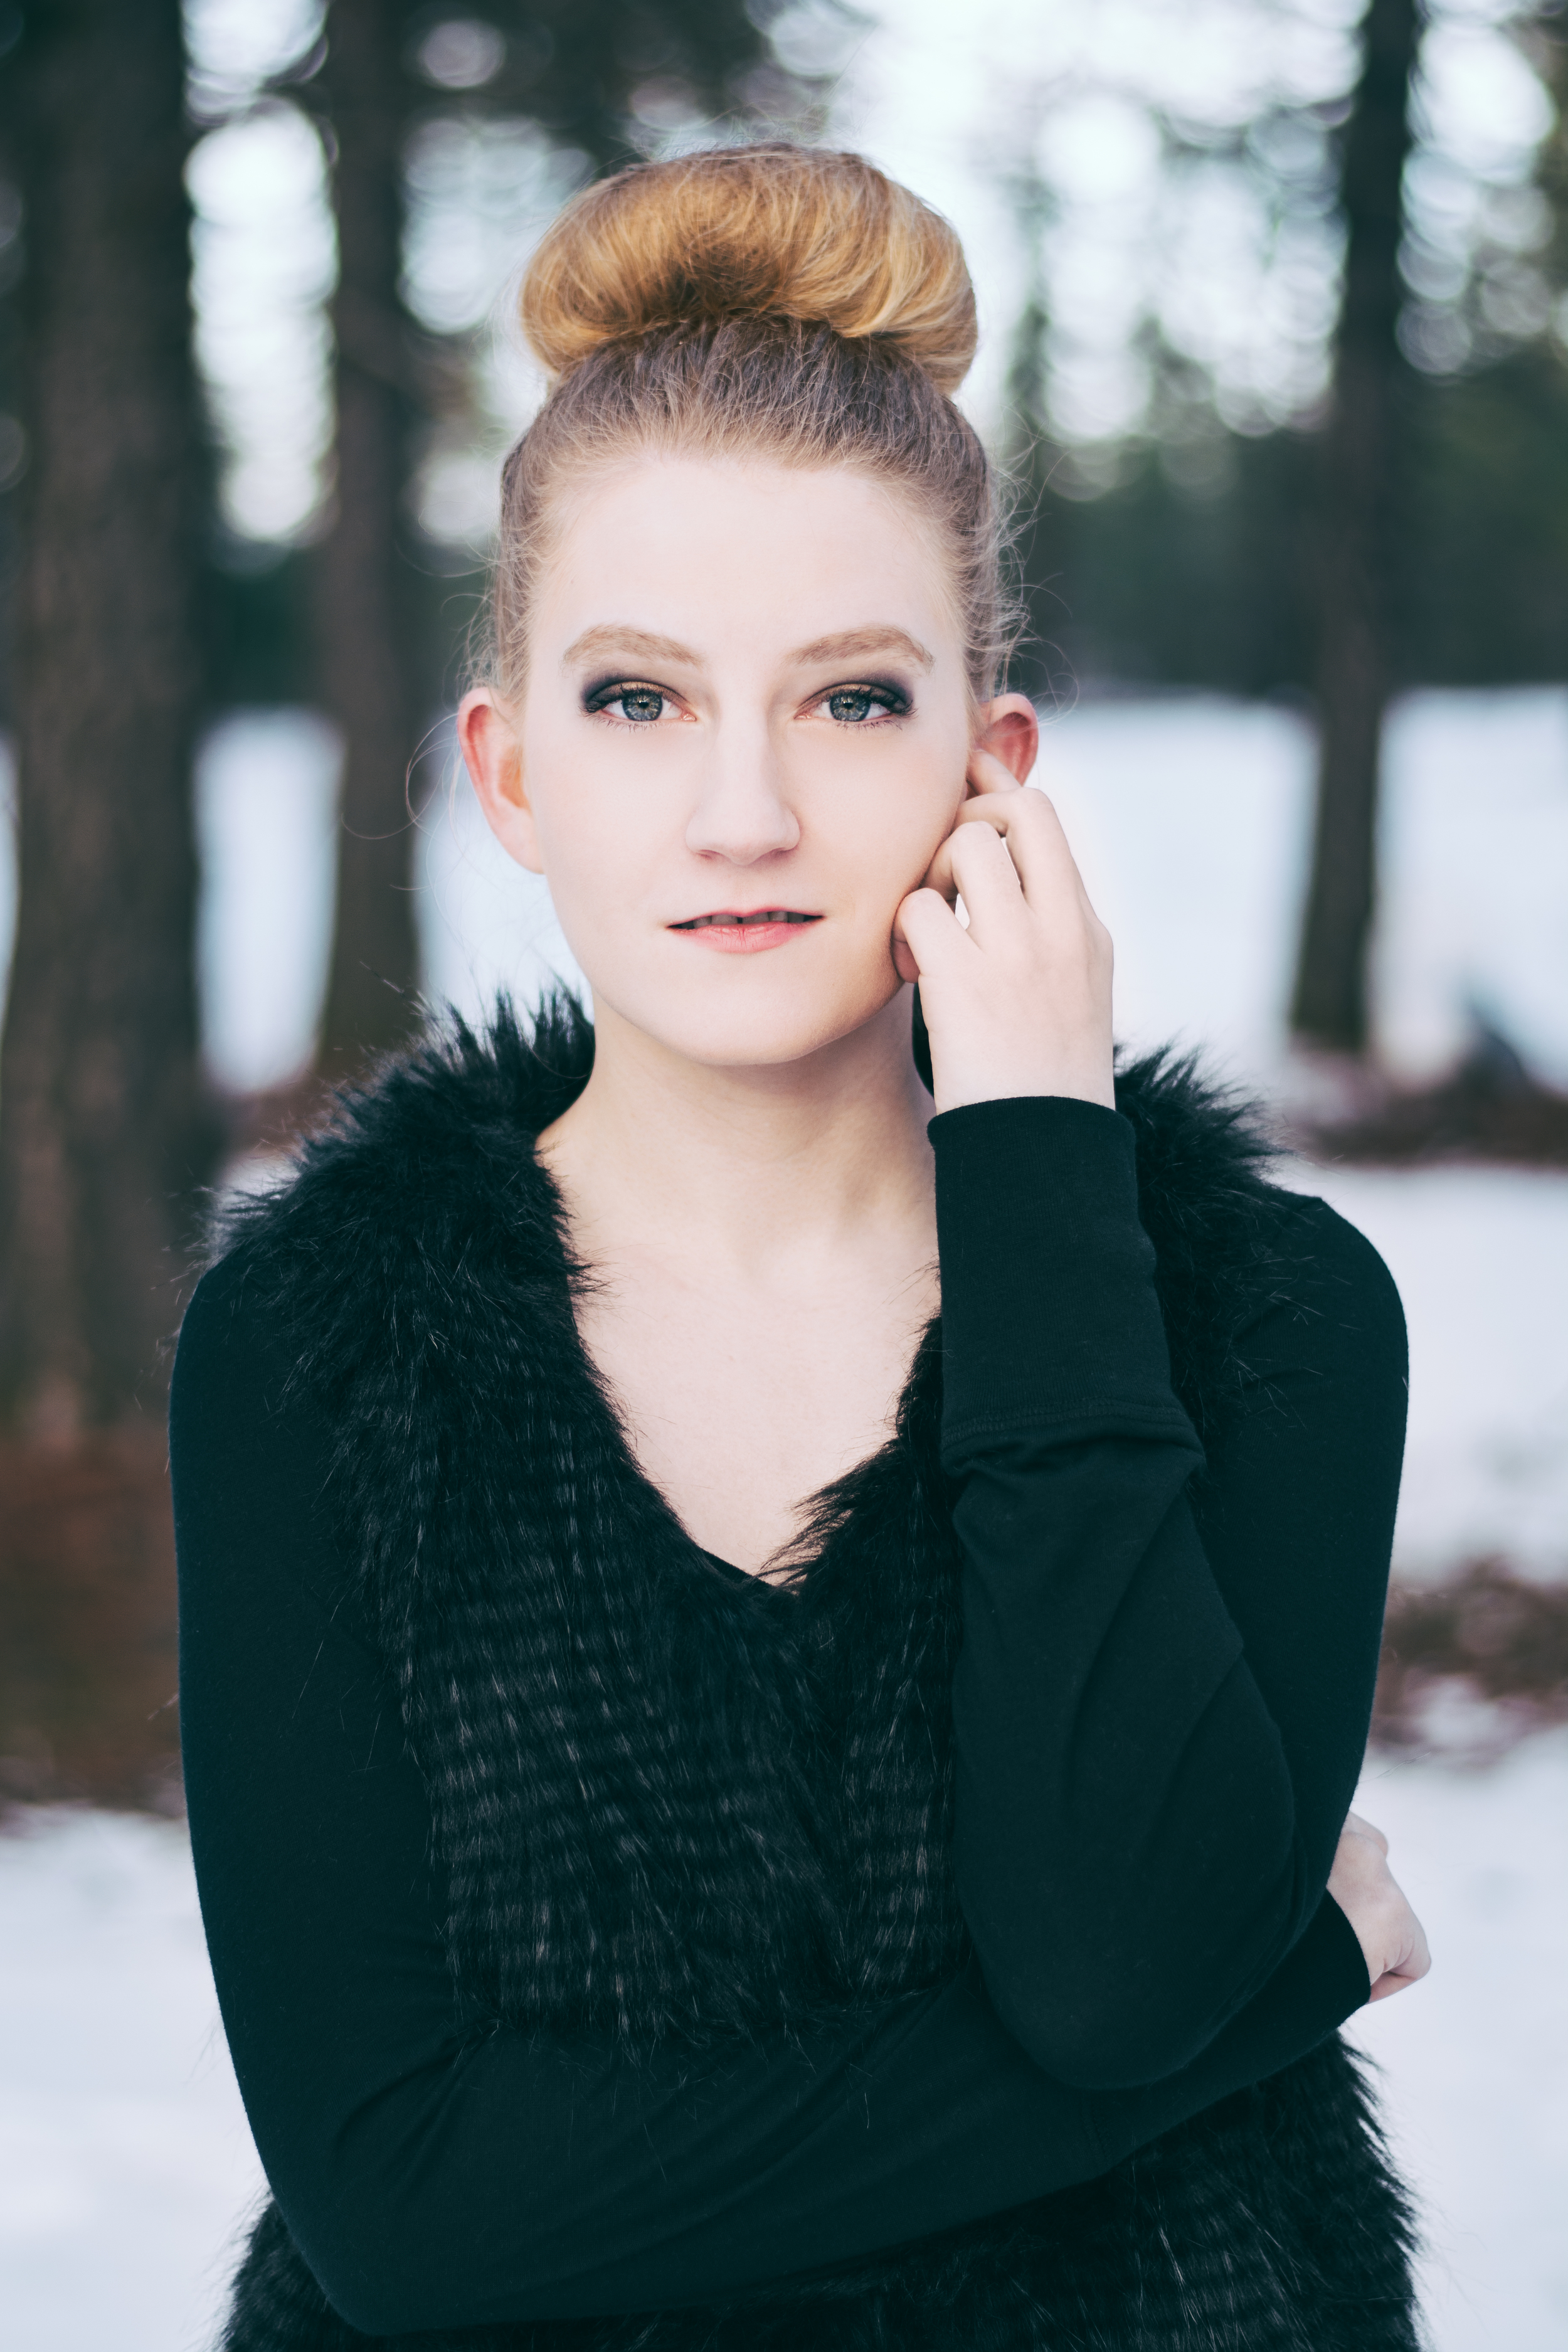
For week two, I went with a concept that just randomly came to me at work (like they usually do), based off and image of a girl I'd found that had feathers falling around her. I fell in love with the softness of the feathers and knew I wanted to create something using them. After some brainstorming, I decided I wanted to do something a little more edgy and fashion directed, using the white feathers and contrasting them with some dark makeup and a dark outfit. Good ol' juxtaposition always works in photography!

The beginning inspiration for this week's shoot.
The concept came to me easily; it was the preparation that was the struggle. I'd set out to find a long sleeved, black fur coat, which I figured wouldn't be that difficult given it's January. Boy, was I wrong. I went to probably at least 10 different stores before settling on a vest. Then, finding a cheap feather pillow was a whole challenge in itself. Apparently most pillows are made with polyester or a down alternative, which are both NOT feathers. And feather pillows can get super expensive! (Tip: If you're looking for a cheap one, Target, $8. Can't beat it anywhere else.)
After finding all the clothing and supplies I'd needed, I thought I was set. The weather for Sunday showed some snow in the morning and fog for the rest of the day, which is exactly what I was wanting. At Sunday around 2, Maggie (my model and one of my best friends), Josh (Maggie's boyfriend) and I had set out to meet up with one of my friends and old classmates Colton, who was taking us to the location I'd wanted.
A few things were already going a different direction than I'd hoped. 1: The snow on the ground was leaving rapidly and there was none on the trees. 2: It was not foggy at all, rather it was almost a sunny afternoon. 3: Colton's speed light only works with Canons, and SUPRISE, I shoot Nikon. But would it even be a photo shoot with me if a thousand different things went the opposite of how I'd wanted? Let's be real.
So here's what I've learned to do: adapt, and fast.
Without sounding cocky, I've become confident enough in my skills over the past year or so to be able to switch into different shooting modes when I need to. You gotta make due with what you have, and create the best possible photos with the lighting and location you've got!
I nailed out some images that I was really happy with, without the feathers first. Once I'd gotten everything I wanted, it was time to throw some feathers around! Now, this is not as simple as it sounds. We went from throwing them directly above, to off to the side, to both sides, to some in front and some in back, and after probably 20 tries, we reached a setup that worked. It took forever and Maggie froze in the process, but hey, all in the name of a good photo right?
With the intention of a good laugh, I had to add this one in. Josh was so determined to get a good feather throw!
Getting "the" shot is like the best natural high in the world. You scroll through you're images, and you stop and catch your breath and go "oooh! I think I got it!" All the struggle and hard work becomes worth it. (Josh even had to take a lap and yell with excitement because he was so happy with his feather throwing methods.)
But then the next challenge comes... editing.
This one gave me Photoshop hell. If you take a close look at the before and after, you'll notice that the original has a tree on the right side and the final does not. I took the right side of a different image and put it in the shot I wanted to use to make the background consistent, and had to add in a few extra feathers to even the foreground out. I made my basic exposure adjustments, did the retouching, and brought it back into Lightroom to do the coloring. I thought it would be simple enough until I'd had like 10 different edited versions of the image and none of them looked quite right. At one point, I started completely over because I'd gotten so far with editing that I couldn't remember what the original looked like. I sent it to some friends to get opinions, and even after tweaking further I still wasn't satisfied. Then Colton gave me the brilliant idea of doing a version in a high contrast black and white. That seemed to be the answer! After further tweaking and sending around and changing, I finally ended on this version that you are seeing. (Even then, it was a struggle to pick between this image for the project and a different one without feathers.)
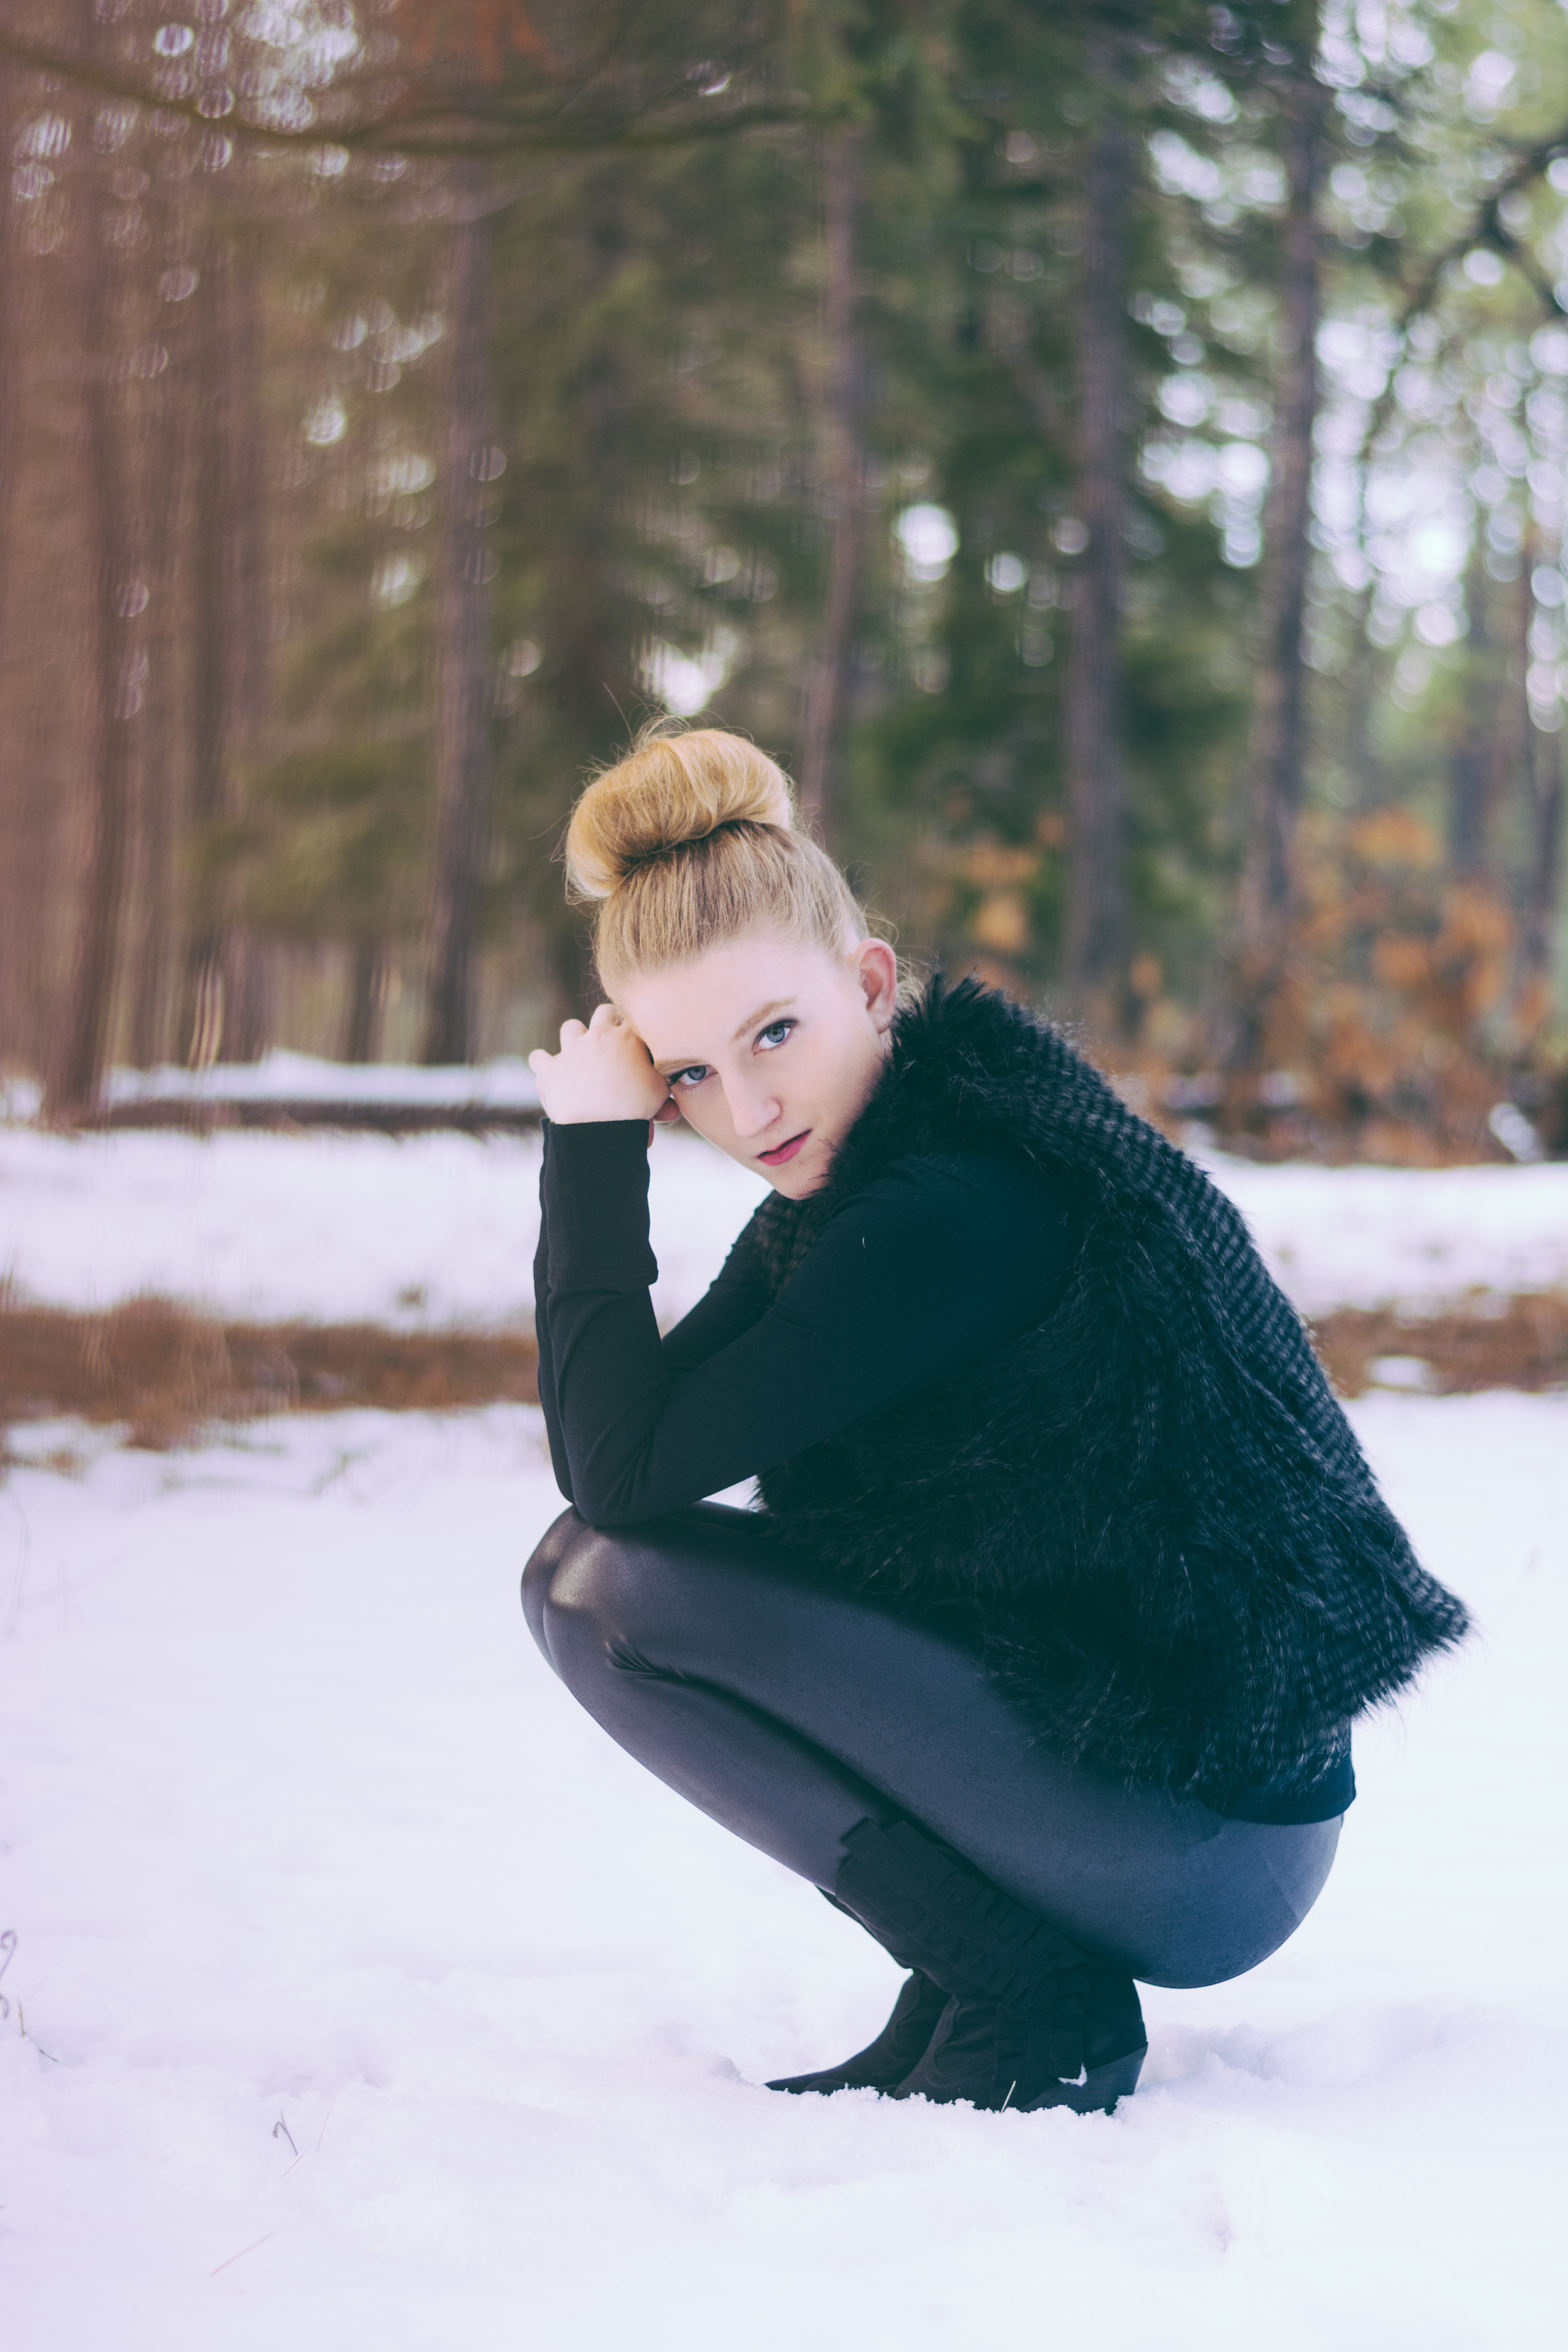
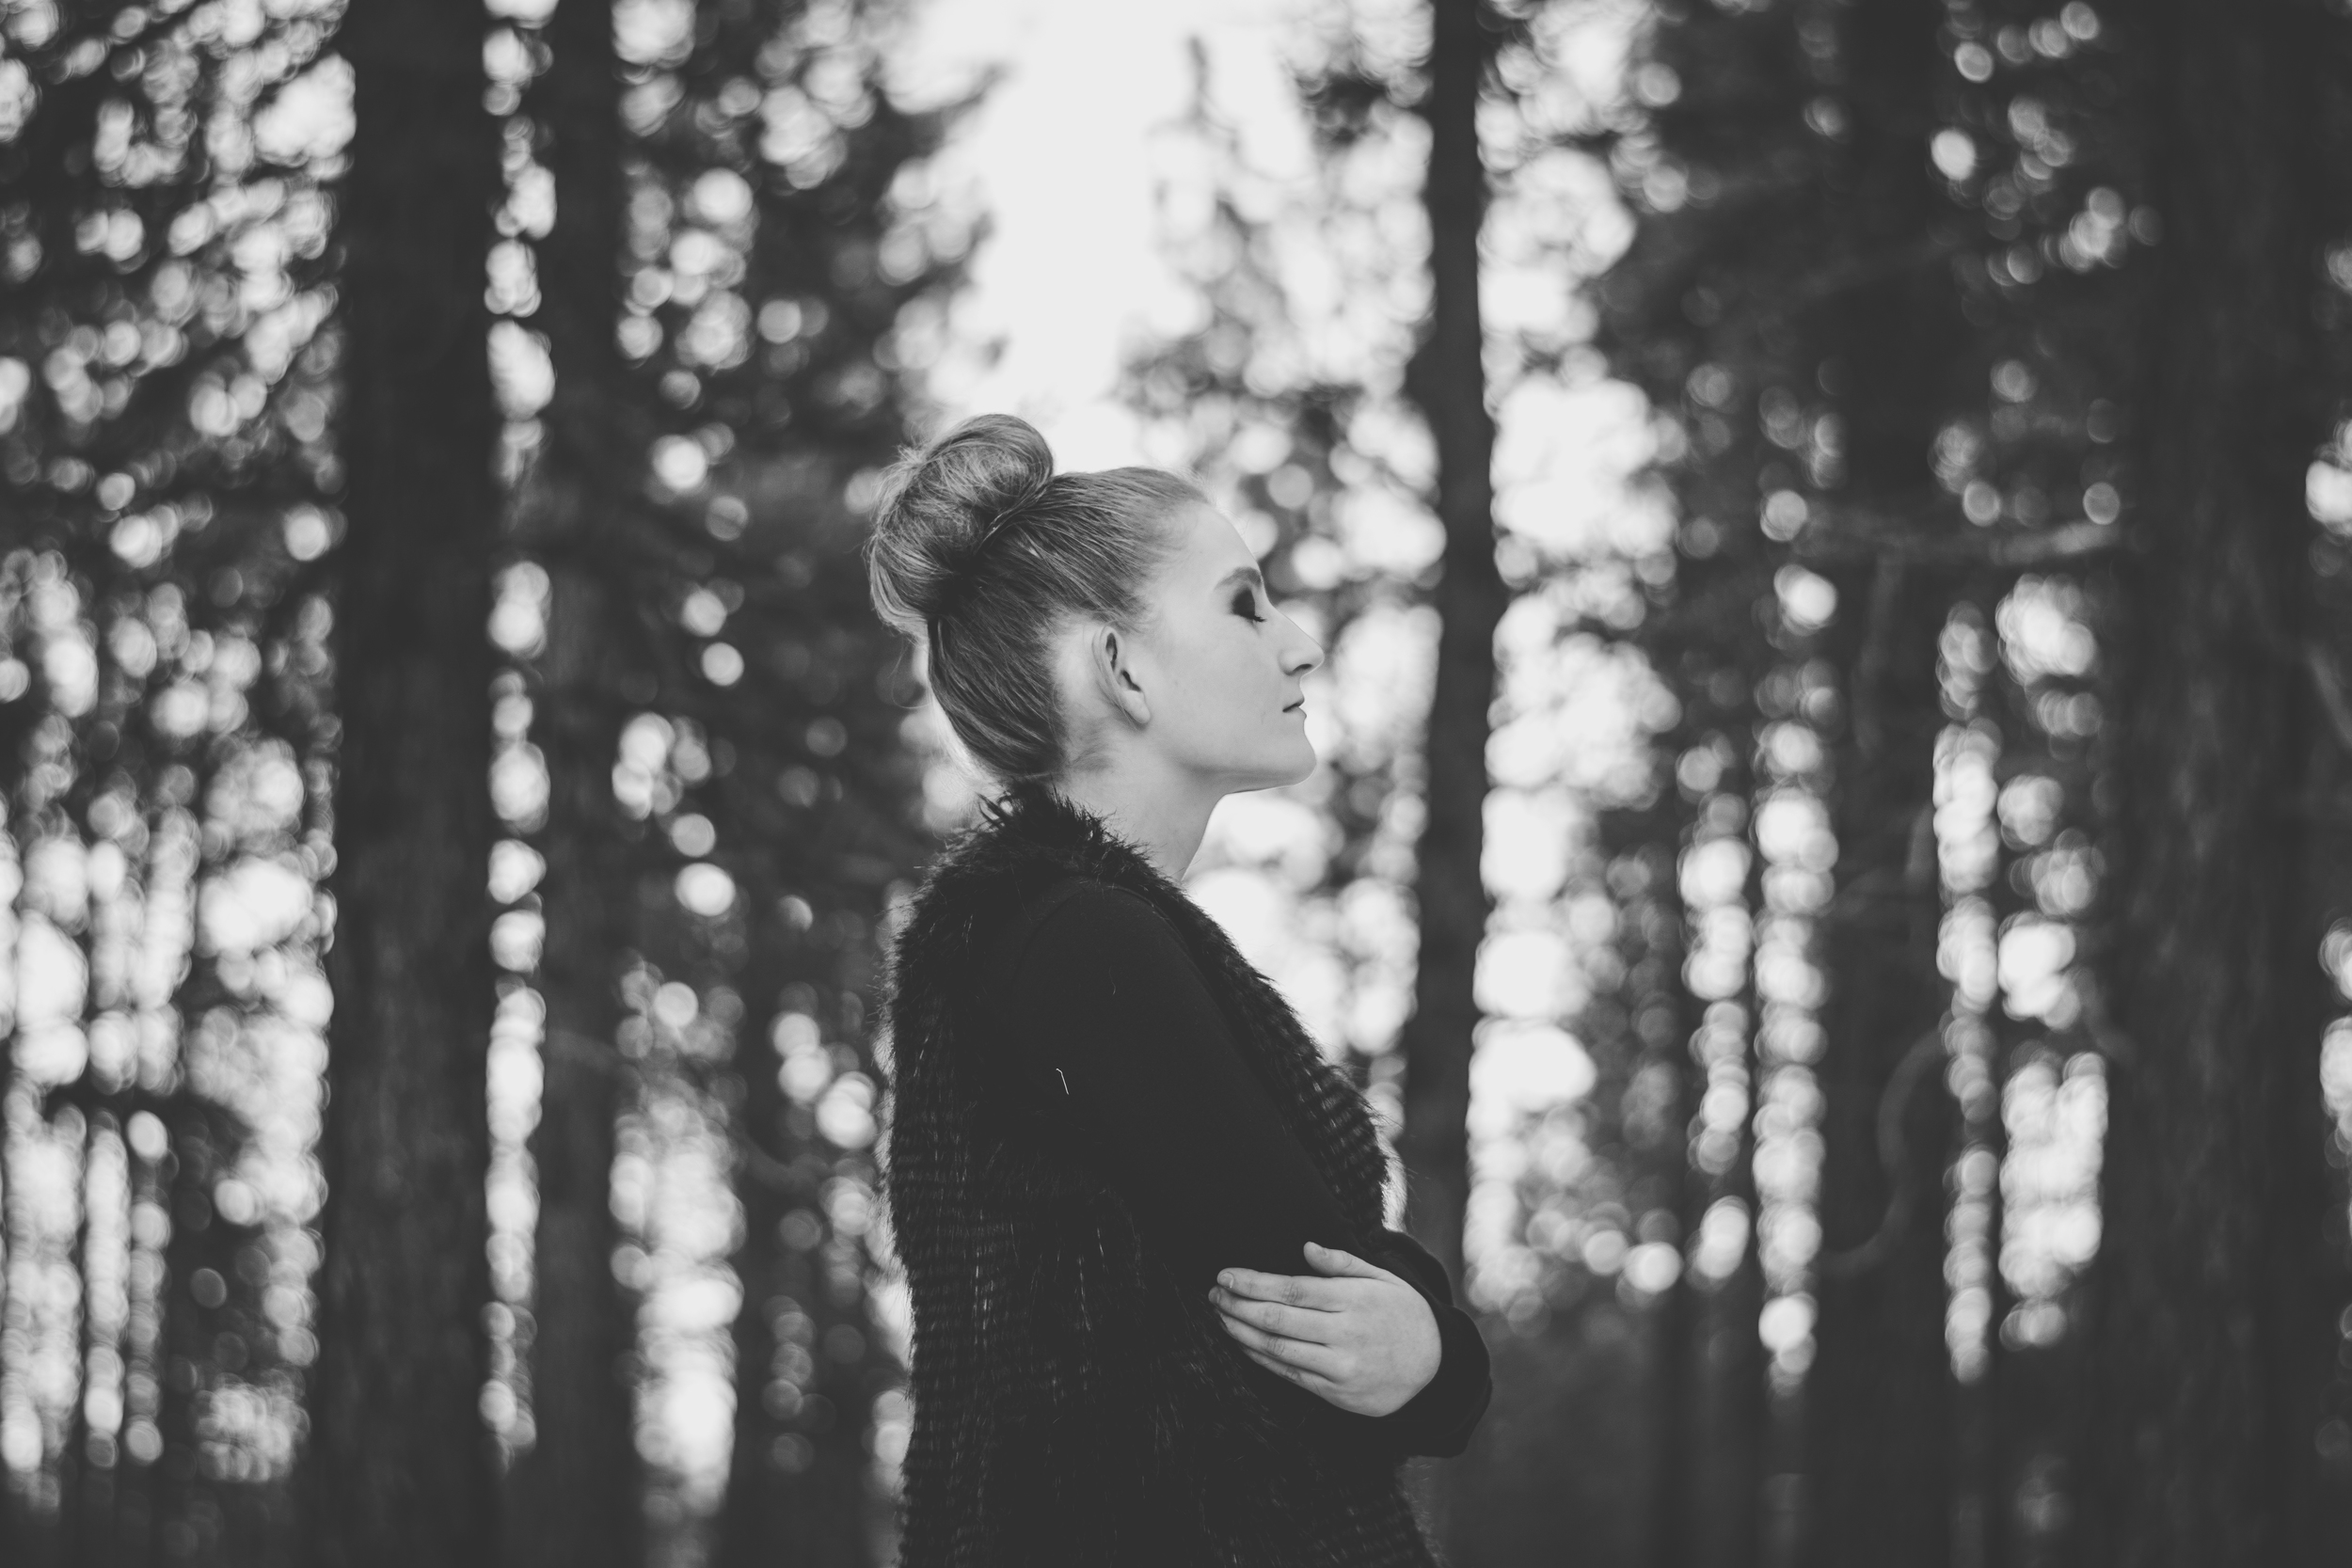
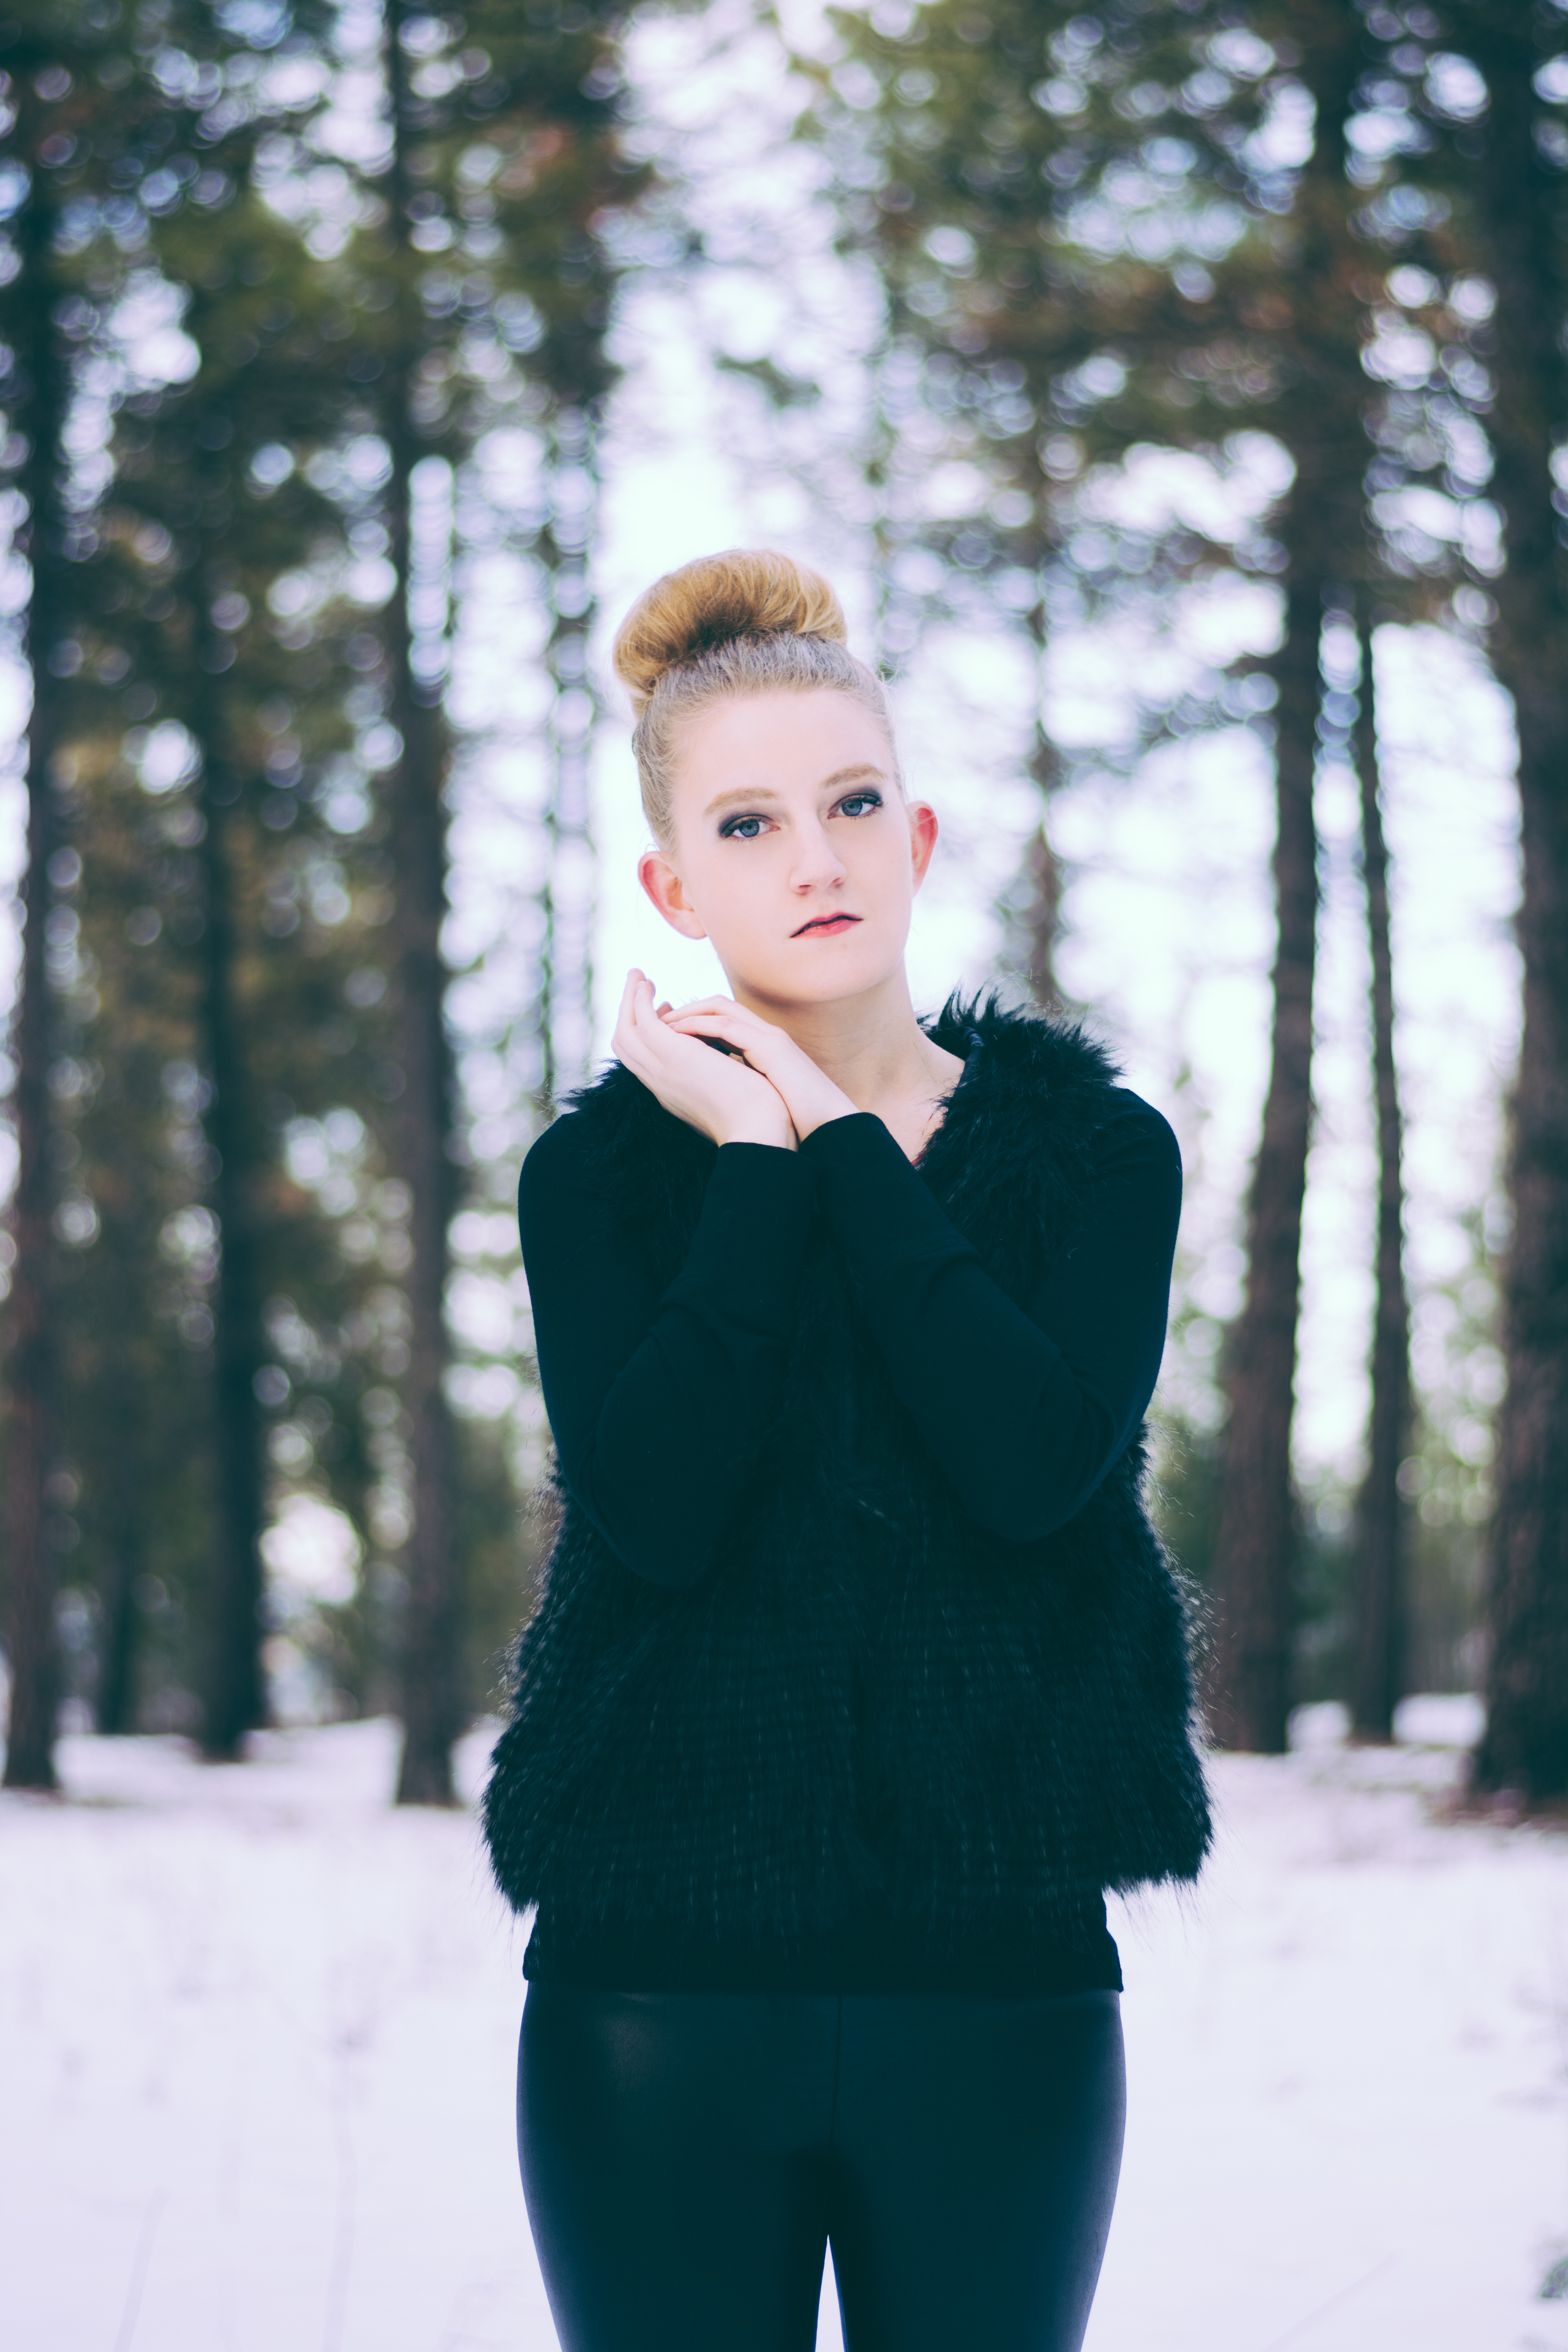
Here's the rest of the images from the shoot, which I'm super stoked about! I'm finally getting a good feel for a more fashion directed style of shooting and I'm really loving it.
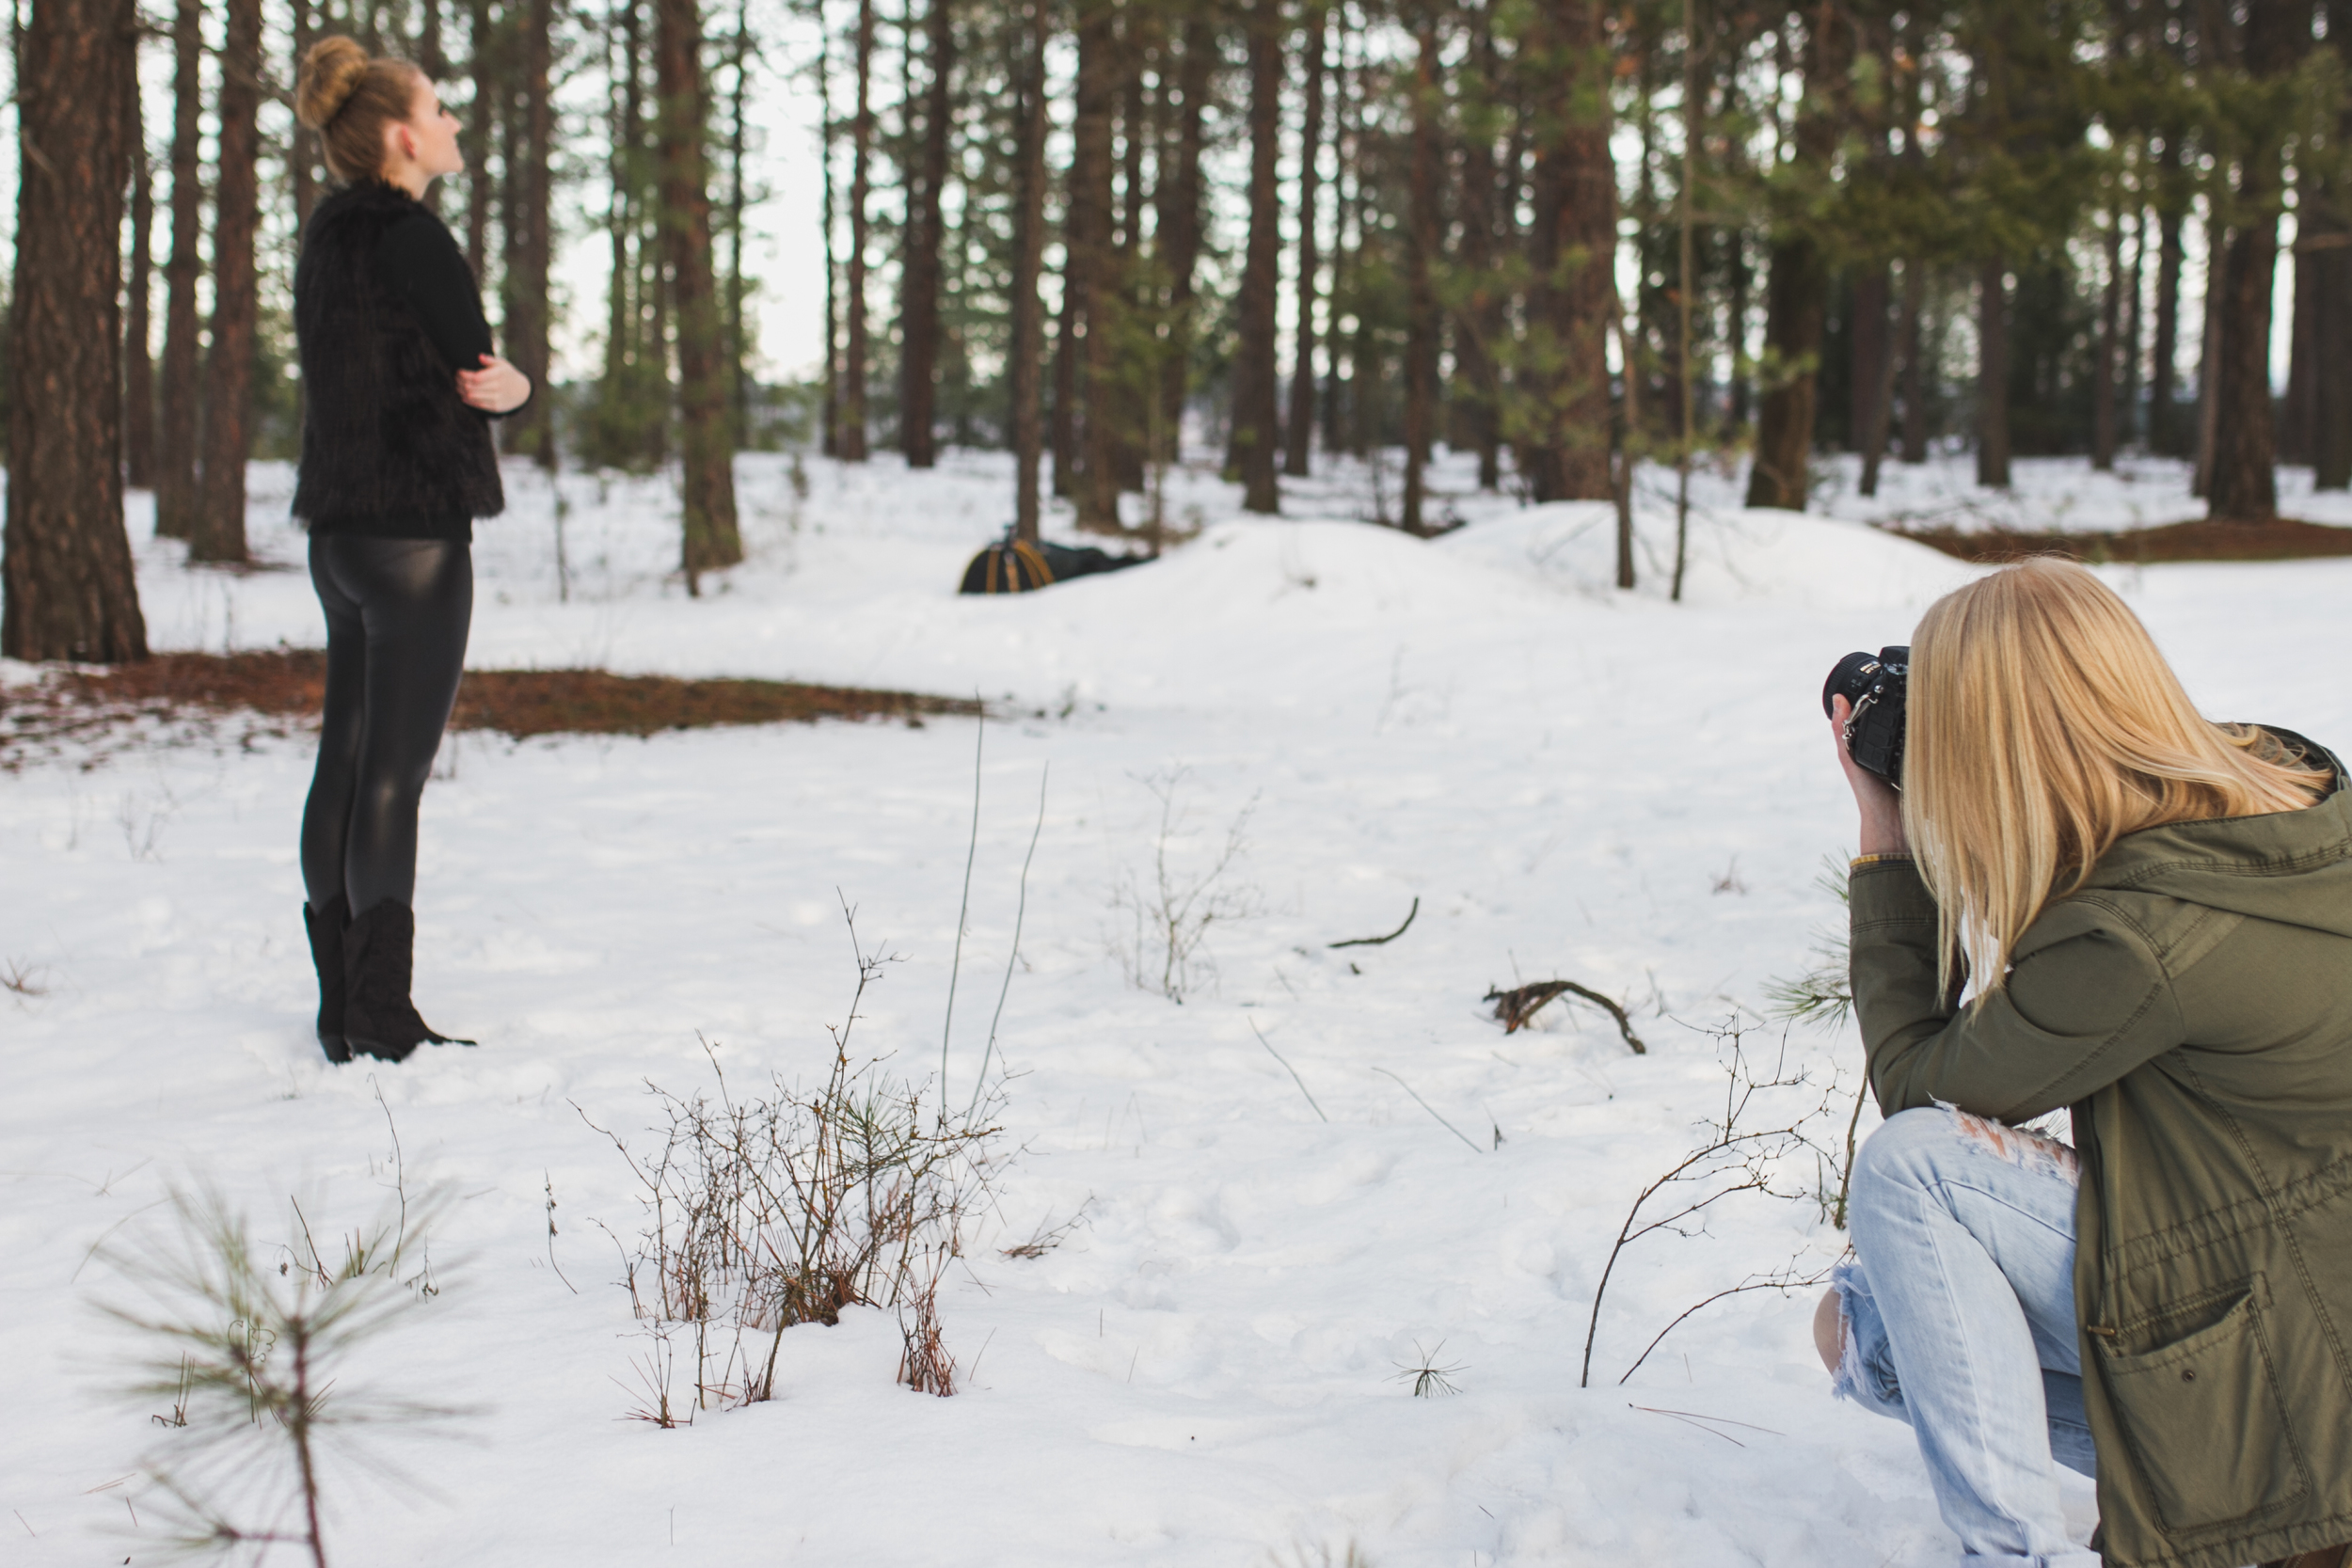
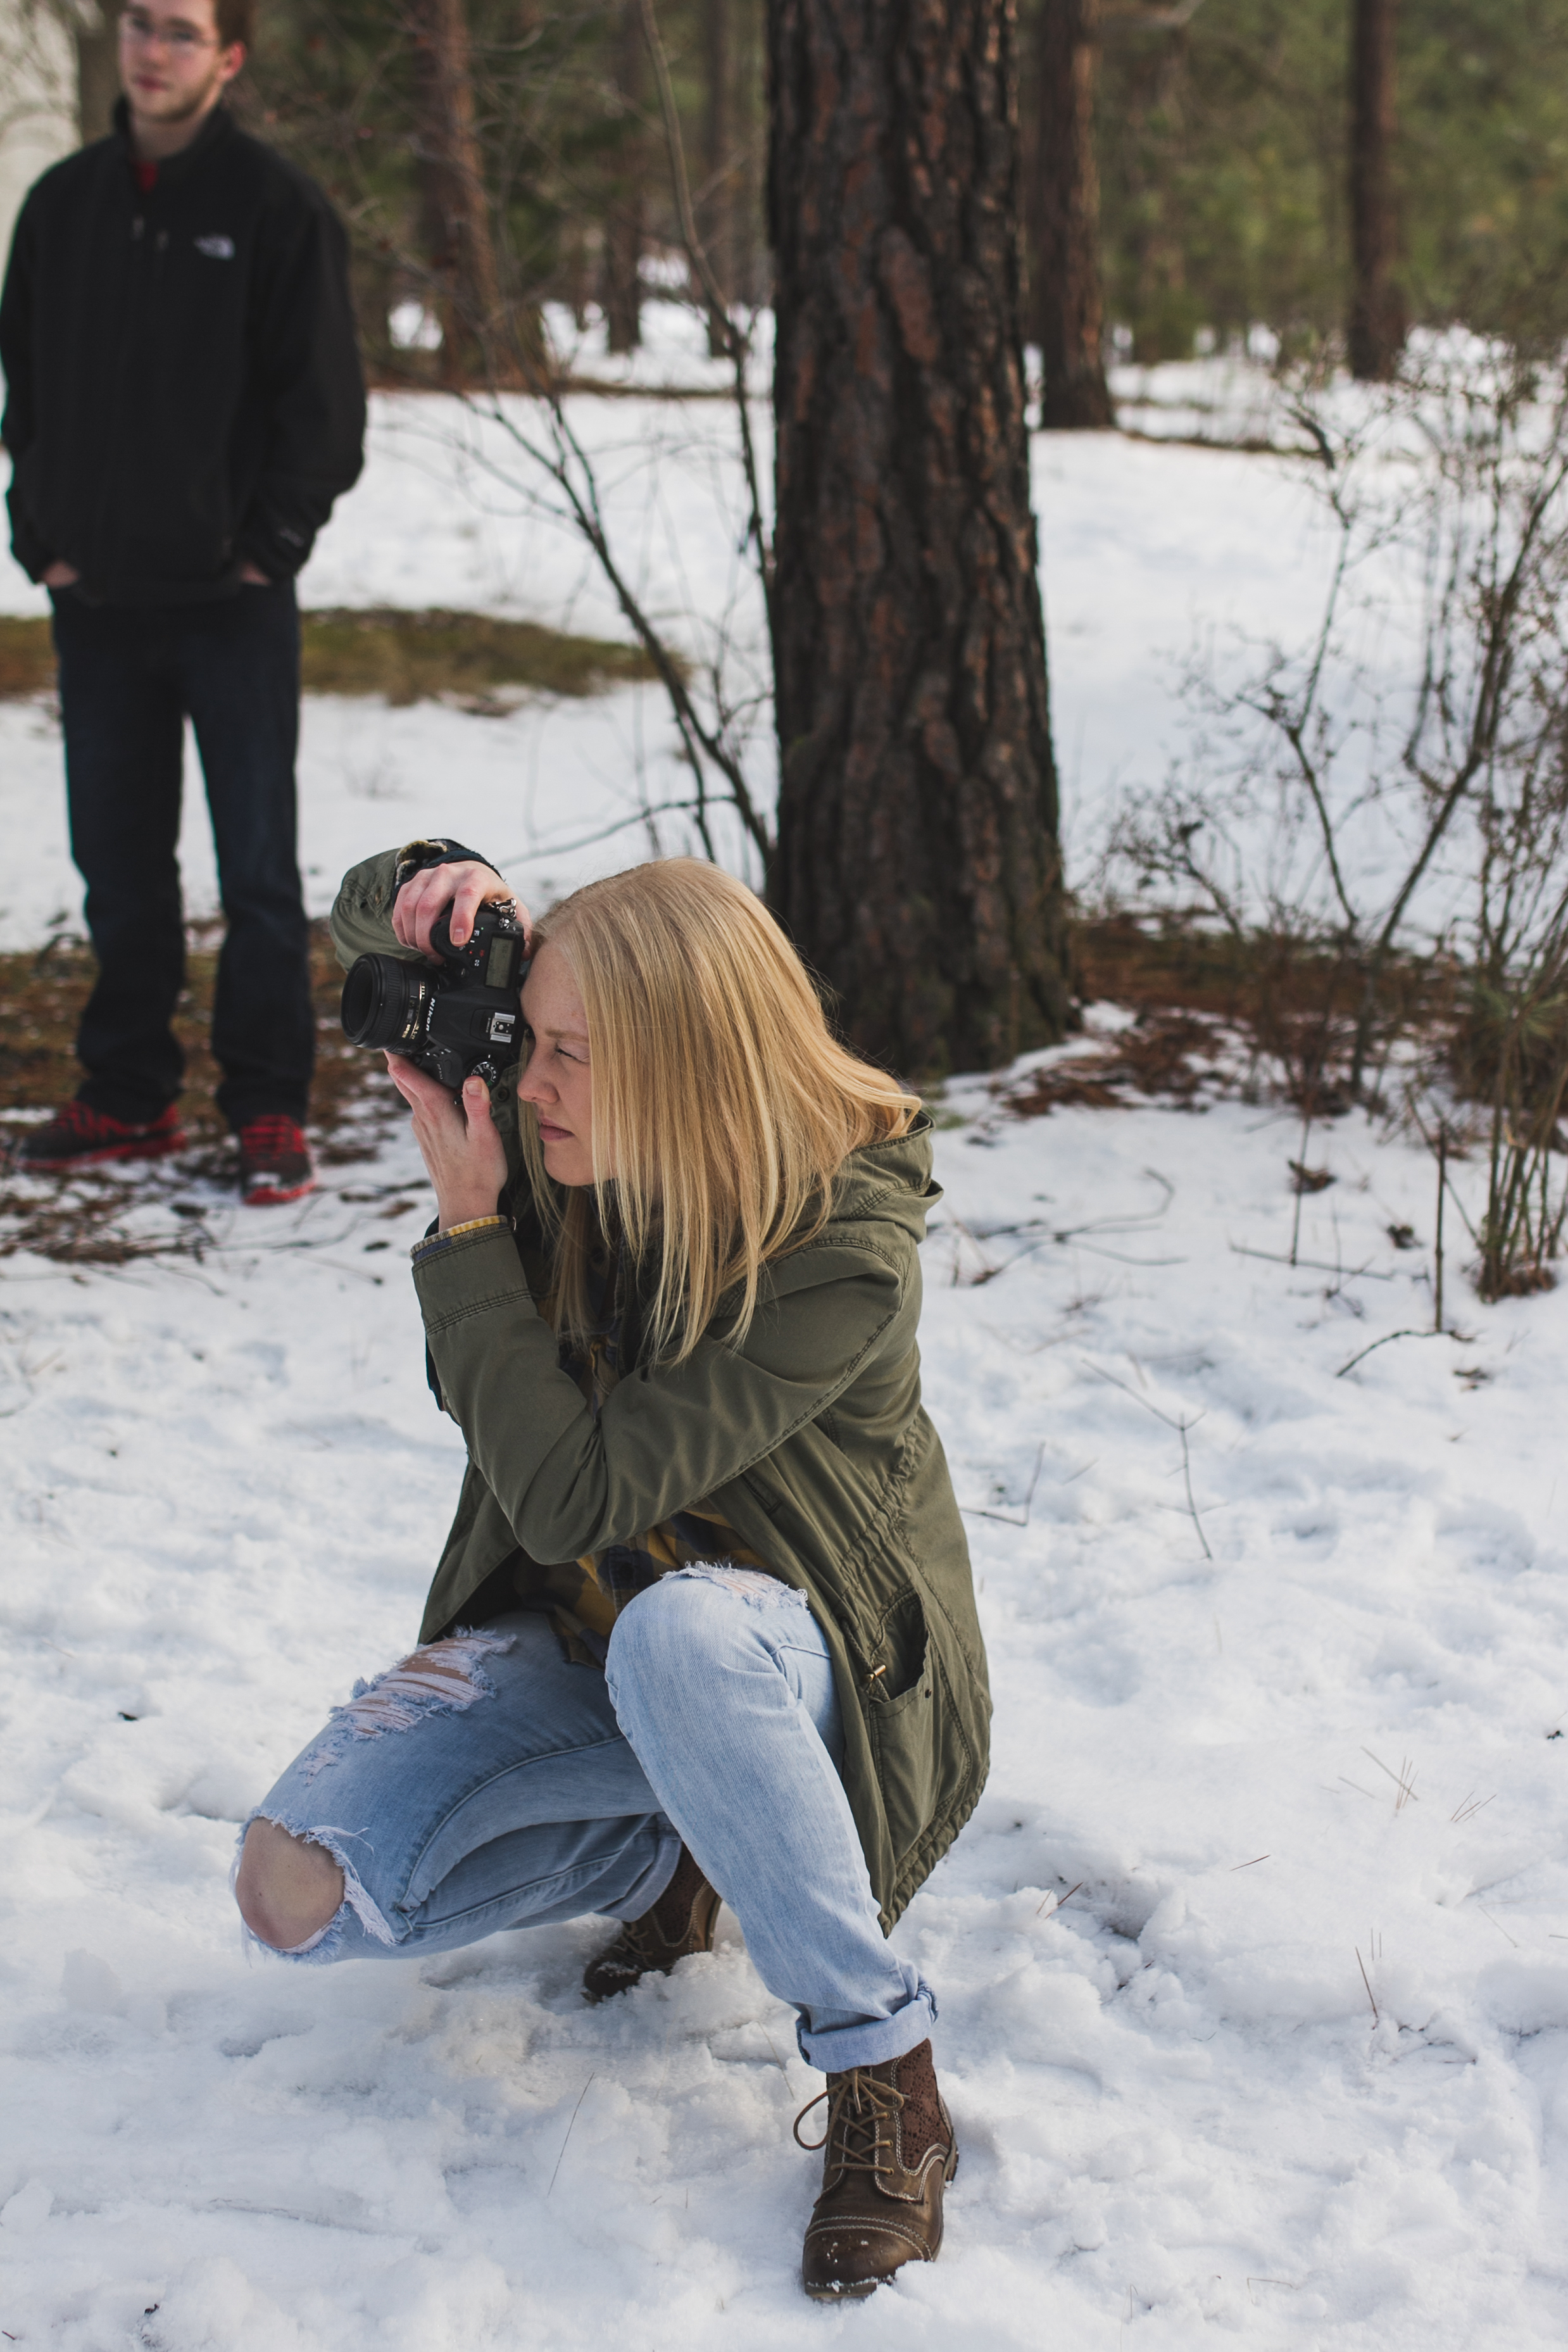
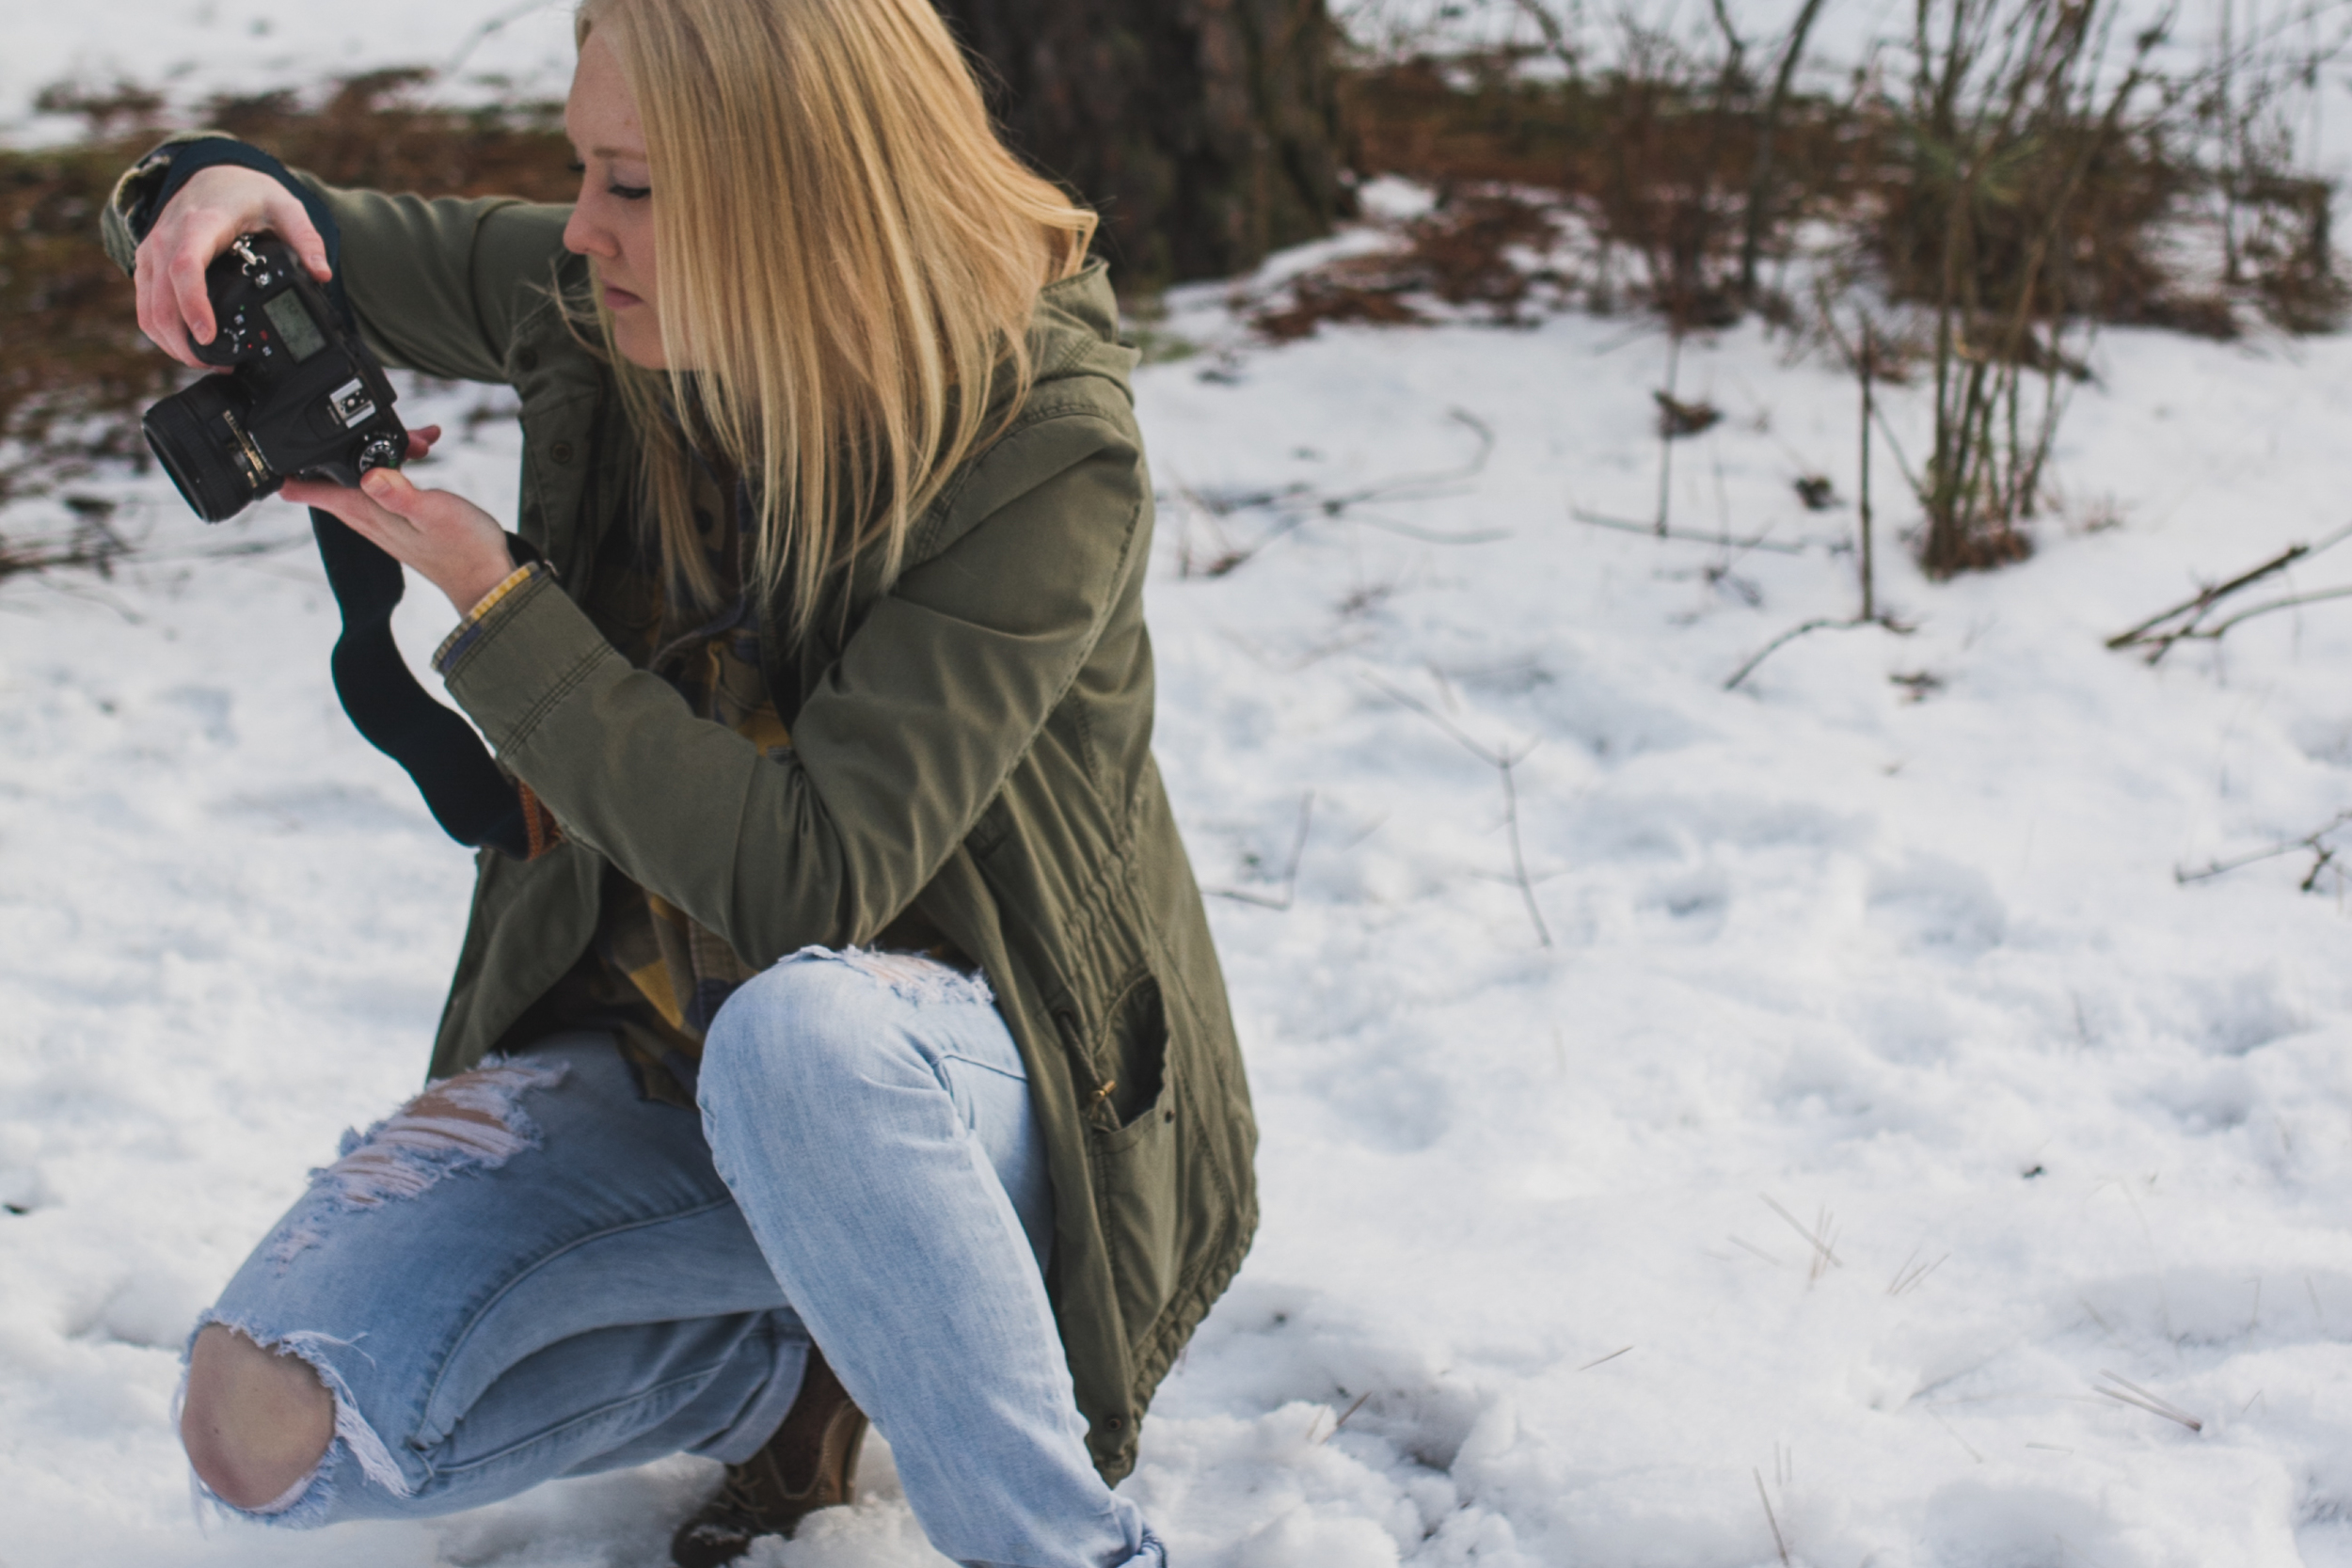
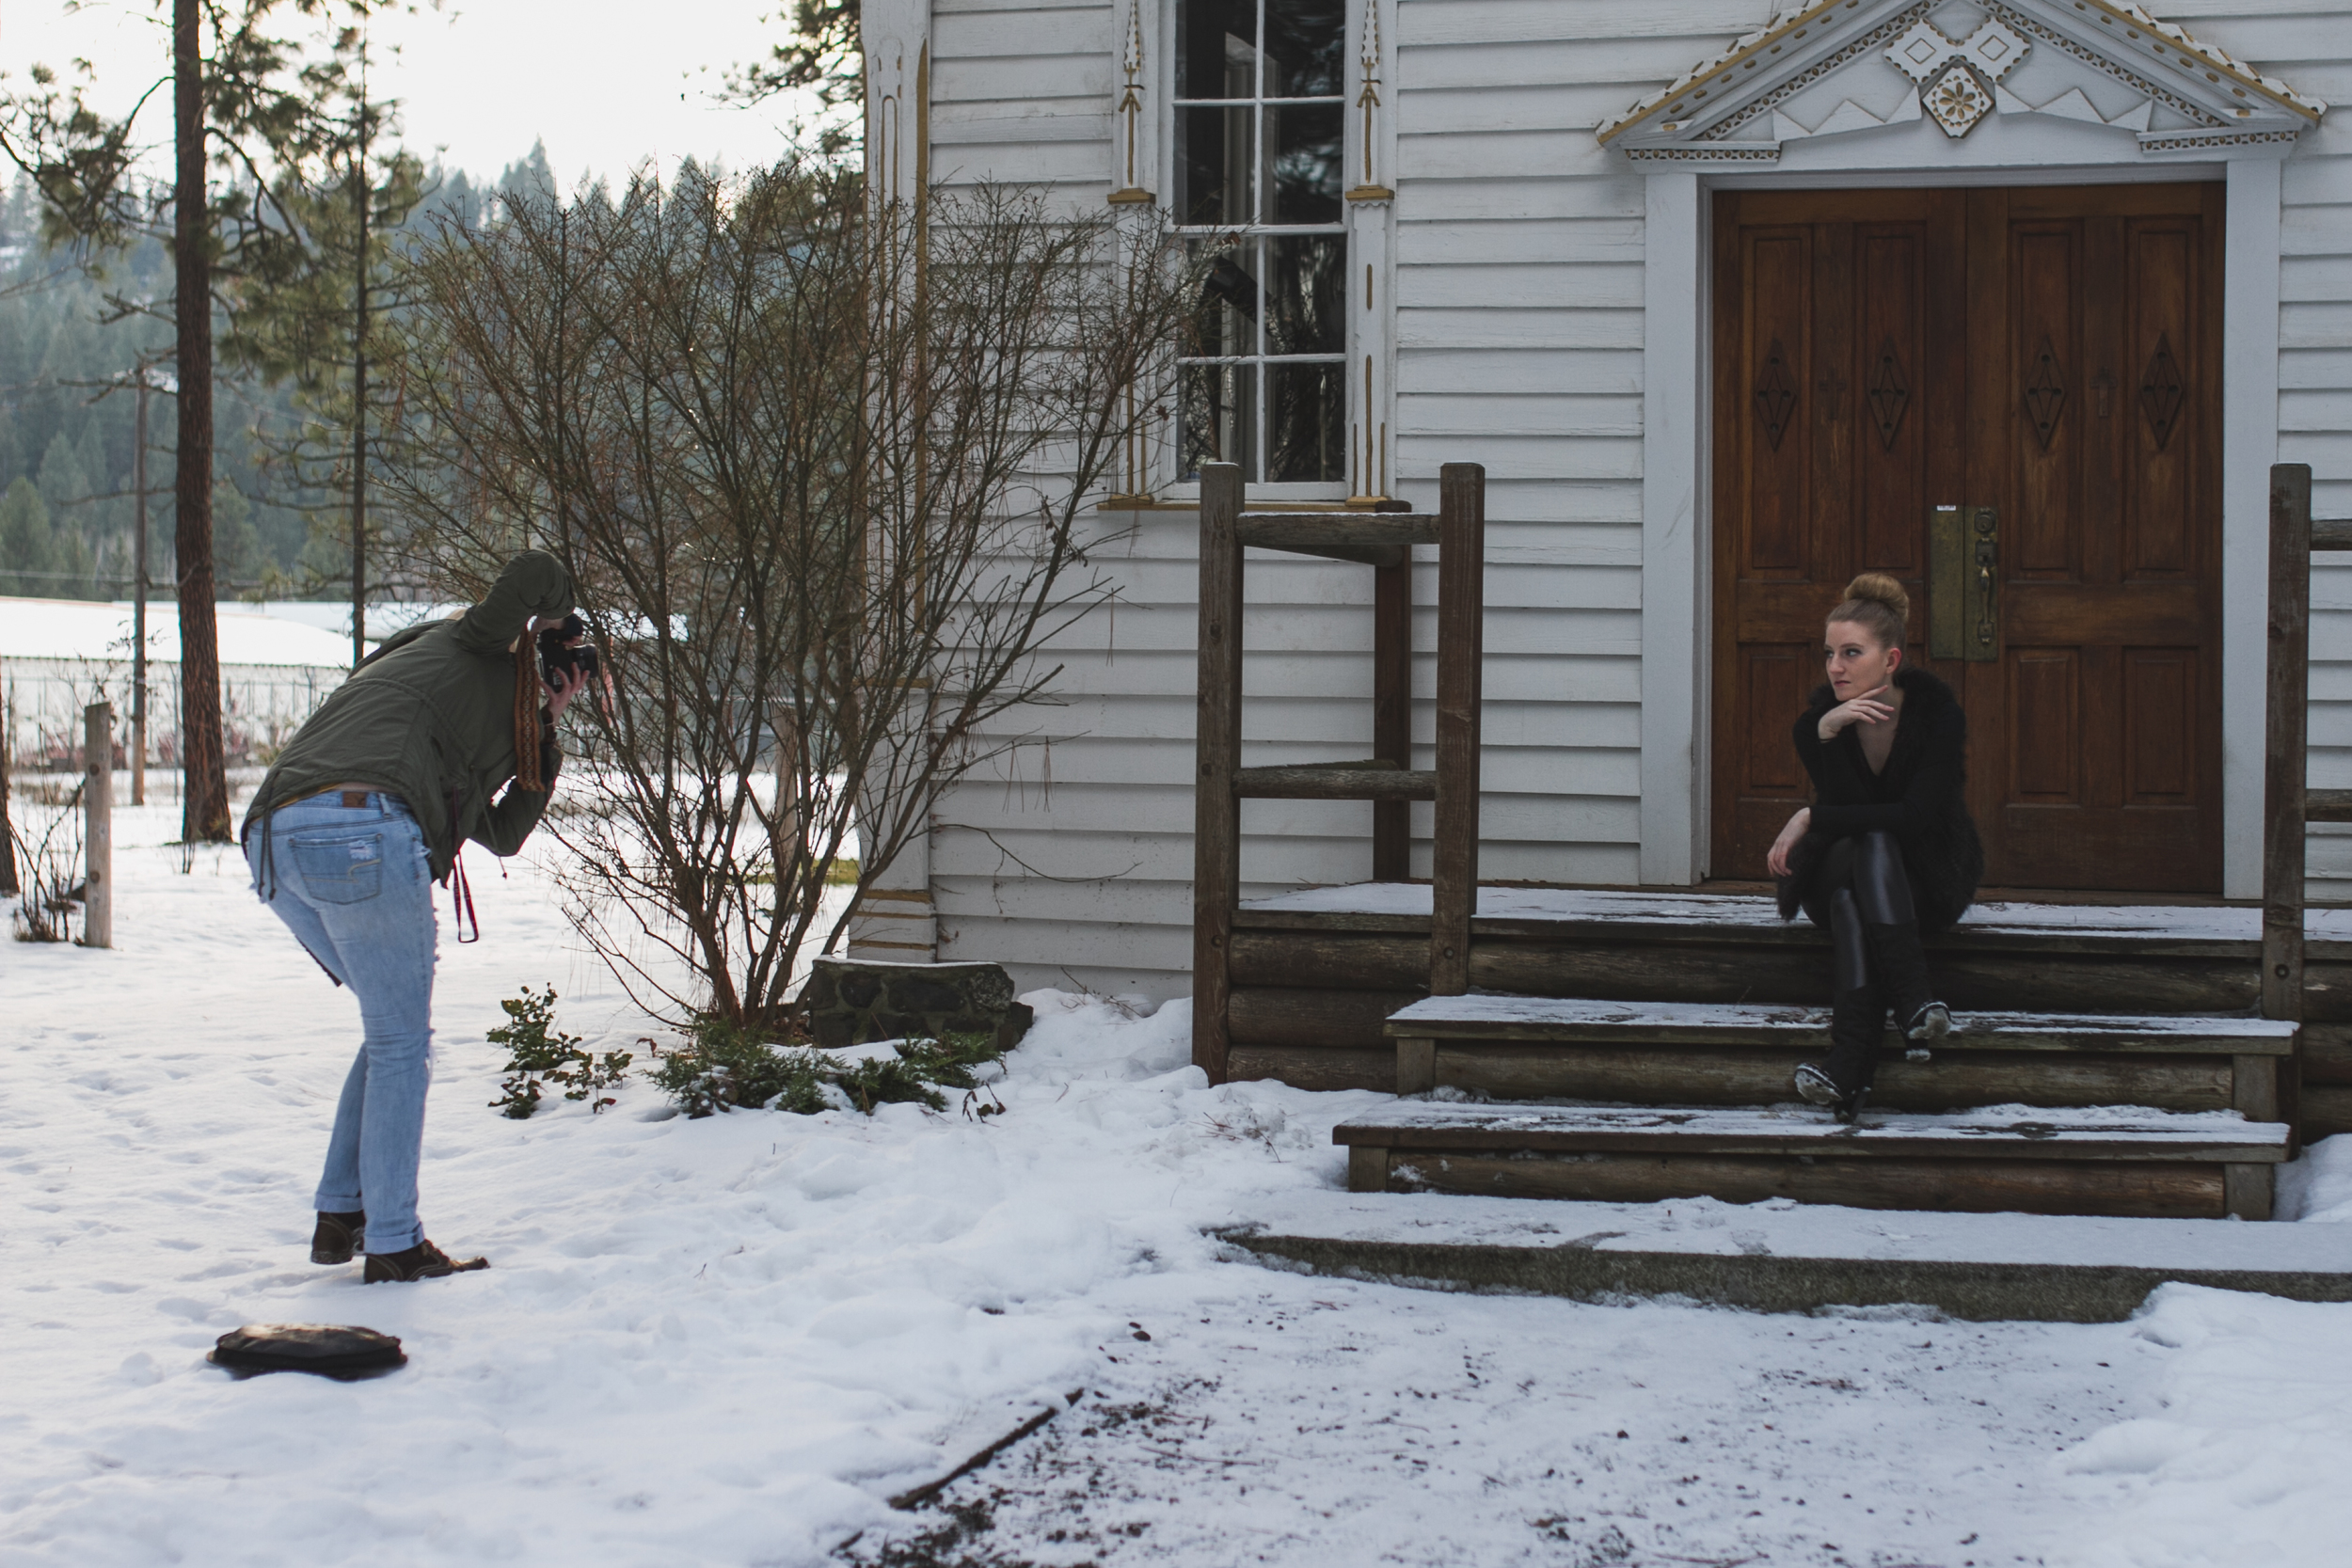
These are some behind the scenes images shot by Colton McCoy, please take a second to go hit the like button on his Facebook page!